


In parenting, there’s a whole lot of in-between moments. Sure, there are the recitals, the big games, the annual family photo sessions. But in-between? Thousands of little magical moments of childhood are unfolding in your home every day. Goofy, adorable little things they’ll do for a week before moving on and then never again. I’d bet, if you’re anything like me, you’re always attempting to capture those things on camera before they get lost in your memory. And captured on camera is better than nothing at all. But, have you ever been dissatisfied with how those images turned out? Are they too dark, too blurry, or just didn’t quite capture the magic you saw in the moment as it was unfolding? In short, have you ever wondered how to take better photos of your kids at home, in between the professional family photo sessions?
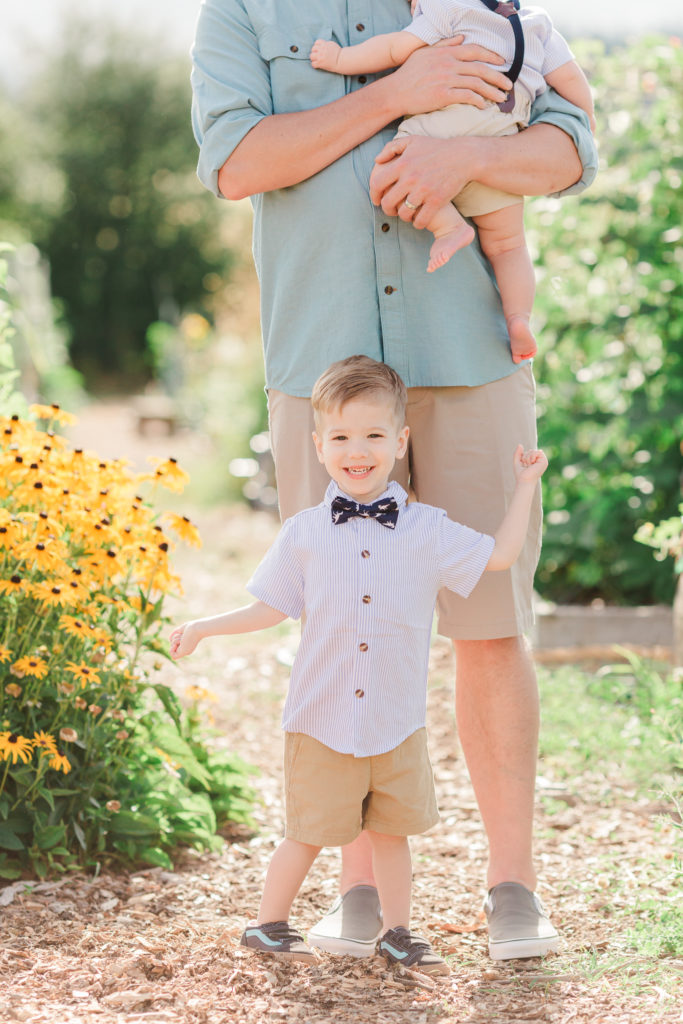
Let’s talk about 5 easy ways you can uplevel your at-home photos to take better photos of your kids. You don’t need a fancy camera. Any camera will work with these tips. All you need is a passion for capturing the magic of your kid’s childhood. Let’s get started.
“The best camera is the one that’s with you.”
How to Take Better Photos of Your Kids At Home: 6 Essential Tips
1. Get low
By default, we often take pictures from where I’m standing. At 5’4″, that means I’m showing the world from about that height unless I change it up. But kids are, well, shorter! Try showing the world from what they’re seeing by crouching down and getting to their level. The perspective shift will also allow you to see more of their faces instead of just the tops of their adorable little heads.
2. Get closer
Most images I take of my kids are usually from where ever I happen to be standing at the time they start doing the cute thing. Usually that’s about four or five feet away, maybe from across the room. But, if the photo I take seems lacking, I like to change how close I am to them. Going from a middle of the road distance away from them to definitely close fills the frame with whatever they’re doing. It’s a clearly intentional choice and brings the focus to them by eliminating everything else going on around them. (PS, this is also an excellent technique for cropping out piles of laundry).
3. Take Better Photos by Getting farther away
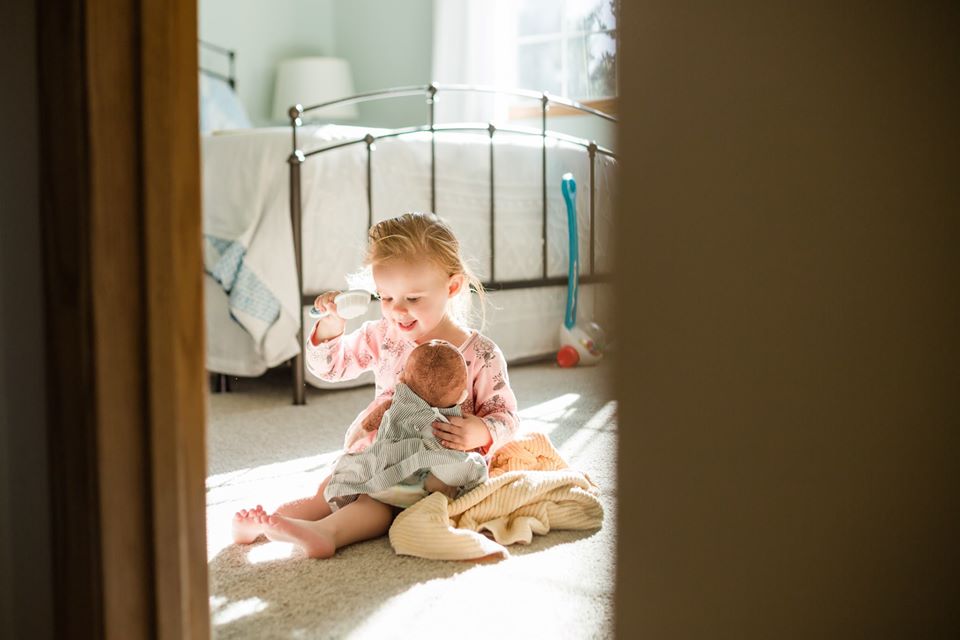
On that same note, stepping back and allowing the whole scene into the frame can be just as impactful. Professional photographers call these “environmental portraits” and they’re excellent for showing your subject interacting with their environment. It might mean peeking in on your child from the doorway as they take in your Christmas tree, allowing the whole tree, the lit fireplace, and the cozy rocking chair in the corner all to tell the story of that moment.
4. Eliminate distractions
Pay attention to what’s making it into the frame. What all is in the picture? Is it adding to the moment you’re trying to capture? If it isn’t, can you crop it out by moving yourself or your camera? Can you block it with your subject? When I’m taking pictures at home, this happens often. We don’t live in spotless homes: kids live here! There are snack wrappers, laundry, and stray legos everywhere. Sometimes, that’s part of the story (see #3). But sometimes, I want the focus to be on the magic moment happening in front of me, and a fruit snack wrapper in the background distracts from the moment. So, I can try moving myself slightly closer to my subject to crop it out.
5. Use one type of light source
This is my favorite way to make images look more professional. Without getting too techy, all light has different temperature, making it look warmer or cooler. When you buy lightbulbs, you have a choice of cooler daylight temperatures or soft warm temperatures. When a photo has both cool daylight in it (like window light) AND warm, yellow light (soft warm bulbs from lamps), the contrast between those light temperatures can be distracting. It also confuses the white balance of your camera, and can make some things seem really yellow or really blue. If that’s a struggle you’re having, try turning off the lights and using only window light.
6. Try framing your subject
This is a fun technique I use when I want to add that something extra to candid photos of my kids playing. See if you can find something that “frames” your subject. Doorways are my favorite, but anything could work: chair frames, trees, the blanket of the blanket fort.
Bonus Tip: Remember that Taking Better Pictures of Your Kids isn’t the MOST Important Part
It’s easy to get caught up in trying to perfectly capture every moment. But it’s important to remember that done is better than perfect! Don’t miss out on being part of the memories or worse, having your kids resent every time the photo comes out. I like to take my camera out for the start of the moment, take a few images, and then join in. If you find yourself getting frustrated, it’s okay to move on!
Now That You Know How to Take Better Photos of Your Kids, What Next?
If you’ve tried all these things and you’re hoping for someone else to just take the photos: get in touch about scheduling your next family photo session! Or, if you’re looking for an adventure to practice your newfound photo skills on, check out my Wanderlust Wednesday posts for some of my favorite hikes to do with kids around Portland.
Was this post helpful? Save it for later by pinning the image below!


