


Learning how to use my camera in manual mode was the single most impactful thing I ever did for my photography career. The great thing about digital cameras is that you can test out different things and immediately see the results: so why not? When you take your camera off of auto, you’re the one in control! You can choose to freeze your subject, or blur your background, or anything: whatever your creative little heart desires. So how do you shoot in manual mode? There are four settings you’ll want to pay attention to: aperture, shutter speed, ISO, and white balance. Today we’ll talk how to set Kelvin white balance so that the colors in your final image can be exactly what you envision.

Why Set White Balance?
Have you ever taken a picture with your phone and it turns out a little more blue than the scene really is? And then adjusted your location slightly and the next picture is much more yellow than the scene really is? That’s your auto white balance causing that! Your camera is doing its best to decide what part of the picture is white, then adjusting its colors to make the whole image warmer or cooler based on its best guess. The thing is, its best guess isn’t always accurate. In fact, it can change drastically by just subtly shifting what is in the frame. When you take your white balance off of auto mode, you take control over white balance. Not only do you take control, but more importantly, you’ll have a consistent white balance across all of your pictures until you change the white balance again. This is so important if you’re taking a lot of photos you’d like to edit to look consistent, since you won’t be dealing with drastic color shifts between each photo.
Which White Balance Setting to Choose?
Depending on your camera, you’ll probably notice different white balance settings: Daylight, Cloudy, Shade, Flash, and so on. When you set it to one of these, you’re choosing a specific color temperature to match your actual setting. This is a quick way to set color balance. It might not be a perfect match, and you may need to still do some editing to get the color just right in your photo editing program, but at least it’s consistent across all of the photos you take. Remember that in auto mode, the camera will make color adjustments to each image it takes when it’s on auto, so just setting your camera to Daylight, for instance, will at least keep the color consistent across all images.
But there’s an even better white balance choice that gives you even more control. Let’s talk about Kelvin white balance.
What is Kelvin White Balance?
Kelvin white balance is simply a scale of color temperature, from the warmest colors of sunrise and yellow indoor lighting around 2500Kelvin, all the way to the coolest colors you see in deep shade around 9000Kelvin. You can see this in real life right now: go inside on a shady, overcast day and set a piece of white paper next to a window with a lamp. Turn on the lamp. See how the lamp throws yellowish, orangish light onto the paper? Then turn off the light, and notice how the paper now has a bluish tint instead. That’s color temperature!
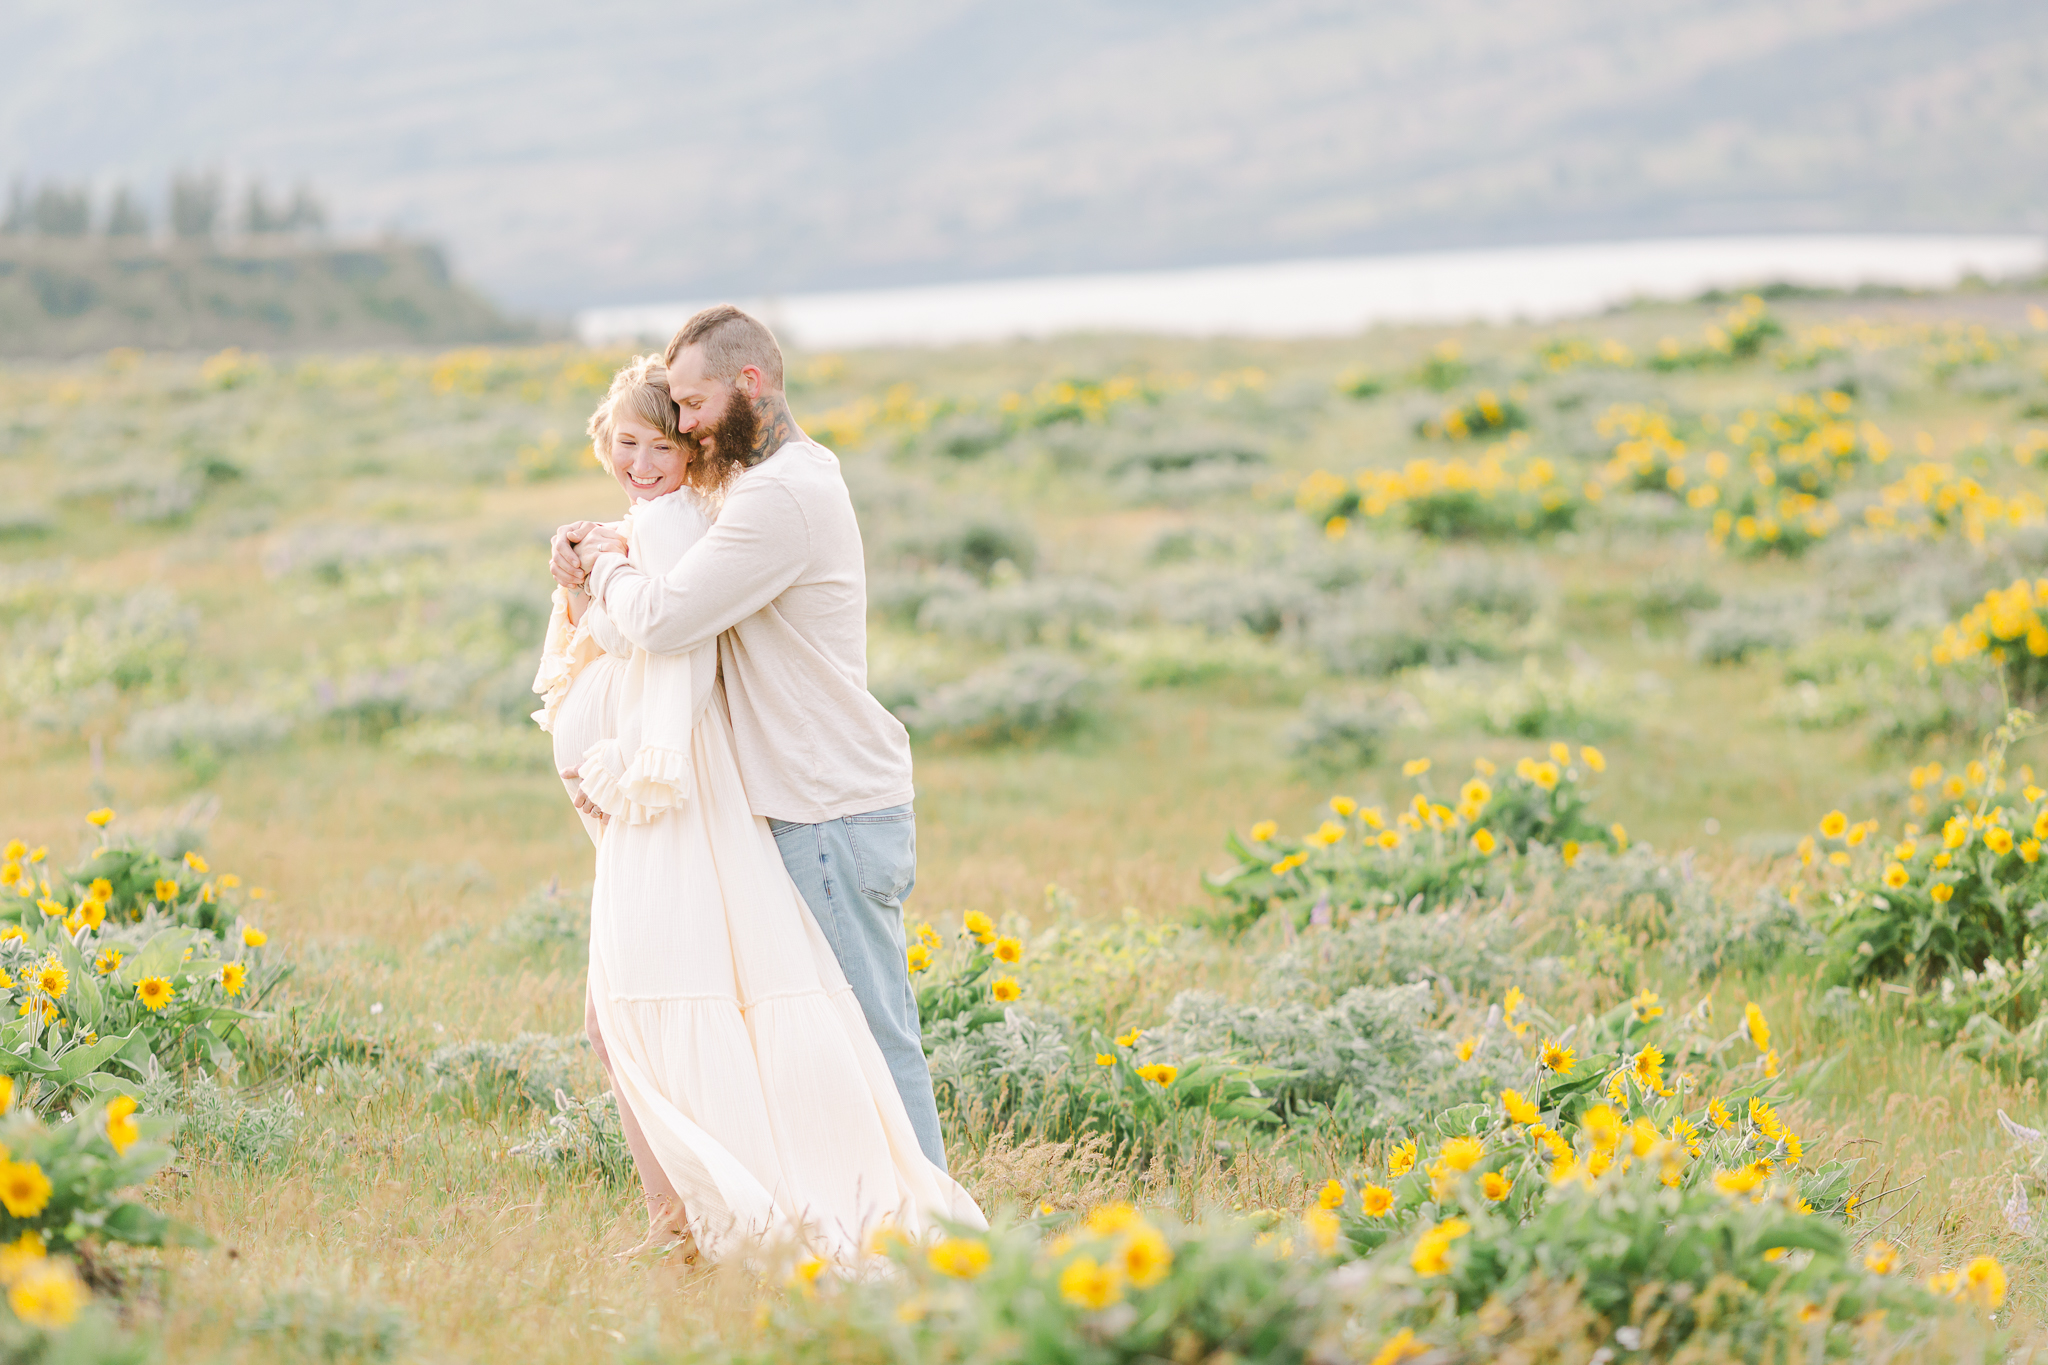
A sunny summer morning in light shade called for a Kelvin temperature of 6000K:

Why Choose Kelvin?
When you set your camera to use Kelvin white balance (often labeled Custom), you tell the camera which color temperature to record images in. Even better, you aren’t limited to the very few pre-programmed settings of Daylight, Shade, Indoor, and Flash. You get the whole scale!
Check your camera’s manual on exactly how to set the white balance, but generally in the menu where you choose Daylight/Shade, you just choose Kelvin or Custom. Then go into your menu settings and set the exact Kelvin temperature number you want to use.
How Often Should I Change Settings?
Minor adjustments to the Kelvin temperature you choose can make a big difference in the final outcome. However, if you don’t mind a little editing you can always tweak it in Lightroom. I like to get it as close as possible in camera for the most true color. Sometimes this just means a few test shots once I get to the location. I’ll take a photo, check the back of the camera, and adjust if necessary. I typically keep it the same throughout a one hour session unless our scene changes drastically. For instance, say we’re in a forested, shady area. Then we go out into a field at sunset. We’re going from cooler light to a much warmer light, so I’d change my white balance then.
This overcast day had just a bit of sun peeking through, but still needed a white balance of around 6200K:
What is the Kelvin White Balance Scale?
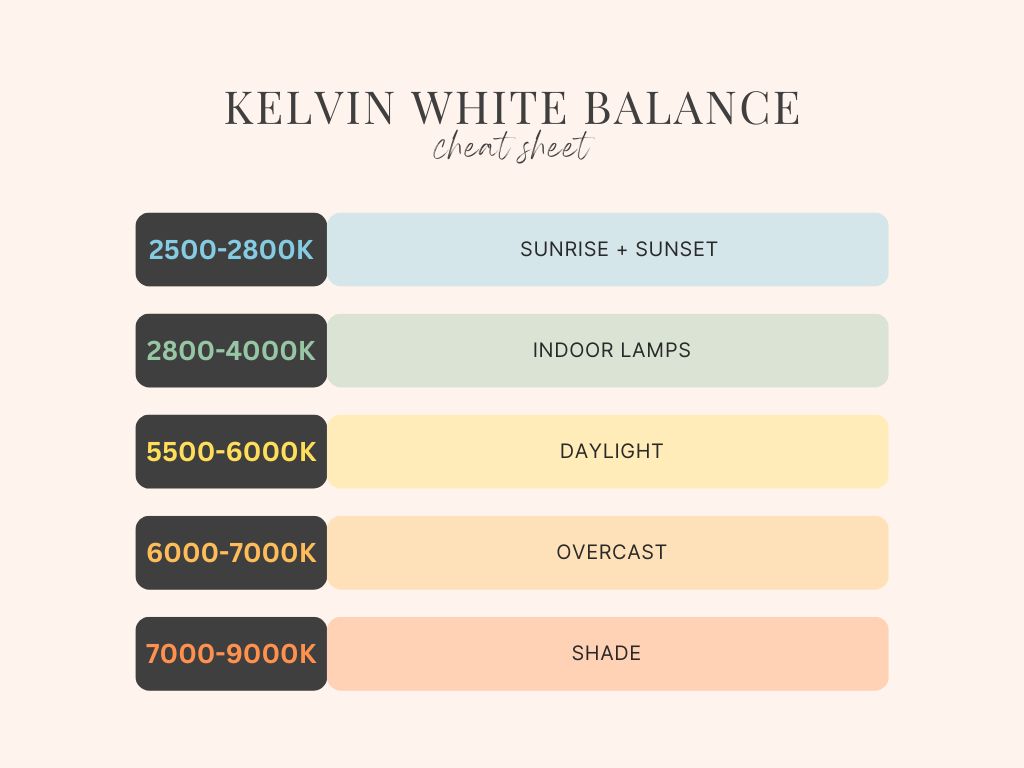
To keep it easy, just remember that the lower the number is, the warmer it is. The higher numbers are cooler. For daytime outdoor sessions, I’m usually between 5400-6200K. That could be much different for you if you’re in heavy shade, if it’s an overcast day, you’re indoors, using artificial lighting, or shooting around sunrise or sunset. Here’s a handy Kelvin white balance cheat sheet to pin and save on your phone for later:
Final Thoughts on Manual Mode
Any way you can take the decision-making process out of your camera’s hands, you’ll get more consistent, intentional photos. White balance is an easy way to save yourself time in editing and create consistency, which makes it an easy place to start when you’re dipping your toes into shooting in manual mode. Take some time to experiment with what different Kelvin temperatures look like in different settings. You’re well on your way to shooting in full manual mode!
What next?
If you loved reading about how to photograph in manual mode and you’re on the hunt for the next camera lens to improve your photography, check out my post on the best lenses for family portraits. I’ve rounded up my favorites just for you! And as always, if you’re looking for family photographs and your in the Portland area, head over to my main website to learn more about what I offer.


[…] double check settings are back at my “normal” settings in case I was last shooting in a low light and have a super high ISO I won’t need, or a really off Kelvin white balance […]