


Hey friends! This is a crazy time right now, but you know what? LIFE is still happening! My son had a birthday last week. I’m getting inquiries from people bringing home new babies, or whose kids are having milestone birthdays–you know, the things I love to document for my families! While Oregon is under a Stay At Home order, I sadly can’t photograph sessions–it isn’t an “essential business” so I’m locked down at home just like you! But I want each of you to be able to have photos of this time in your life. So I’m starting a little series on how to document quarantine life at home! This isn’t a necessity by any means, and you know what? If you’re just barely making it one day to the next–THAT’S OKAY! We’re all in this crazy place of suddenly working from home, homeschooling, cooking allllllll the meals, cleaning constantly, AND dealing with the trauma of all this. I mean: don’t put pressure on yourself to photograph everything! But if you’re feeling sad that you won’t have birthday portraits for your April-born kiddo, well, break out that iPhone camera, friend! Let’s help find you some good light!
Goals
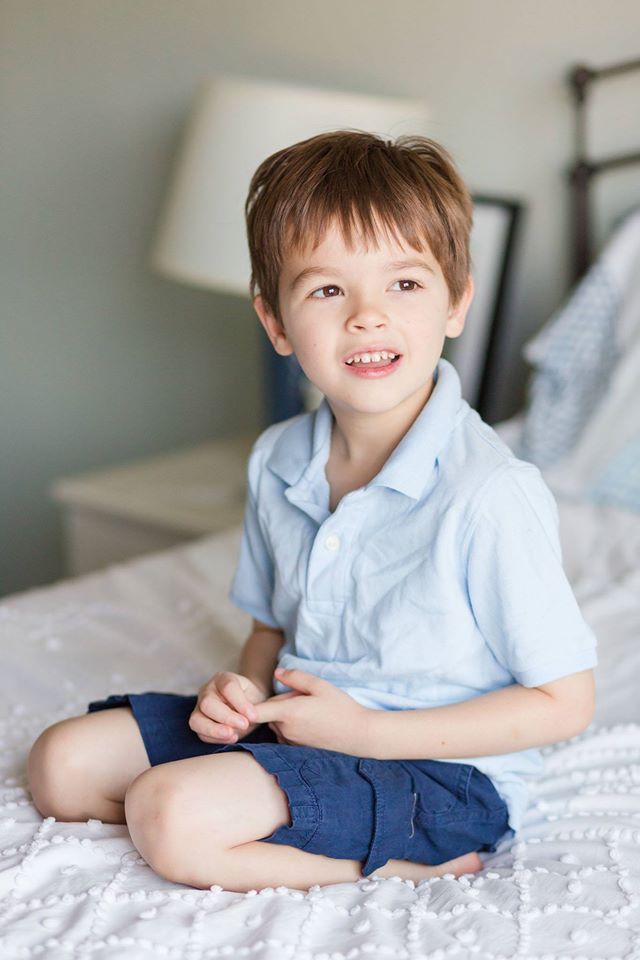
I’m focusing on taking portraits of your kiddo for this particular post, so I’m going to assume your goal is to get a few good photos to remember what they looked like on, say, their fifth birthday. We’ll aim for similar things that I would try to get during a portrait session: some photos where they’re looking at the camera, hopefully smiling–you know, the ones you’ll send to grandma to frame. Then a few of them playing, laughing, being their goofy selves.
Think about what your goals are before you start. I’m definitely guilty of sometimes overshooting when I take pictures at home of my own kids because I get the camera out without a real purpose. But if I know I want, say, maybe one photo to show just how big of a blanket fort they built, then that takes the pressure off and I can think of the best way to photograph that one thing. This also keeps, hopefully, my kids from getting annoyed by the camera in their face: it’s just out for a few minutes and then we can get back to playing.
Stay Calm
First, take a deep breath! Just like when we’re at a session–once everyone’s putting a ton of pressure on a kid to smile, well, that’s pretty much the exact moment they’ll melt down! So set yourself up for success: don’t pressure for smiles, and aim for the part of the day when your kid is in their best, calmest mood. I don’t know about your house, but it’s a nuthouse over here after 4pm. The energy is just WILD! And that is way harder to capture good portraits in than when they first wake up and they’re a little cuddly or ready to focus on some quiet toys.
Find the Light
This is the MOST IMPORTANT piece of advice I could give you! For this post, I’m talking about indoor light. Take some time over the next few days to notice what the WINDOW light does in your house. You’re looking for the MOST amount of light, and you want it to be EVEN across your subject (no bright spots and harsh shadows) and DIFFUSED (so: not harsh, direct light blinding you!). Consider these three questions:
Where are the largest windows in your house? Do you have any that go from the floor to the ceiling, like a sliding glass door? Those are GOLD! Photographing a subject near a full-length window means that their whole body will be in the same light. If the window starts at their waist and they’re close to it, then the bottom half of their body will be darker than the top. So I love to shoot near sliding glass doors whenever possible for even light.
What direction are your windows facing, and when does each side of the house get direct sunlight? This will tell you the ideal spots to photograph in depending on the time of day. In the morning, for example, I’ll often photograph near my east-facing windows as the most light is coming from them. Later in the day, my south-facing windows give the most light.
On clear, bright days, do you get harsh, direct light from any windows? At which times of day? In the examples I gave in the last paragraph, the south window in particular gets pretty direct light. Not a big deal on an overcast day, in fact, it’s my go-to on an overcast day because it’s generally the brightest spot in the house. But if it’s a clear day, that direct light is squint-worthy! If you place your subject in that direct light, not only will they be likely to squint, but their skin may end up looking washed out on camera. To avoid that, you can either move them back away from the window, or try to soften the light. My favorite trick for this is to just draw semi-sheer white curtains. The light will look much softer and you won’t deal with weird shadows or washed out skin.
A Note on Lamp and Overhead Light Fixtures
Ideally, you won’t be mixing lamp light with the light coming in from the windows: the light is two different temperatures and if both types of light are in the picture, you’ll end up with some super orange areas from the lamp light and super blue areas from the daylight. I prefer to keep all the lightswitches OFF when I’m doing indoor portraits if possible.
Set Up
Okay, so you found a corner of your house with soft, even, sunlight at the time of day you’d like to do photos. Great! Set up before bringing your kids to the area if you can. Nothing major, but maybe make the bed or move the pile of laundry out of the background and set a toy or two out that you’d like them to play with. Or don’t. I mean, it’s quarantine. The rules don’t exist anymore. When you’re ready, ask your kiddo to come do a few photos with mom or dad. I love to use the line that “Nana would love some photos of you!” to entice the kids. Because they love Nana, so they’ll happily smile for a few photos for HER if I catch them in the right mood!
Making the Photo
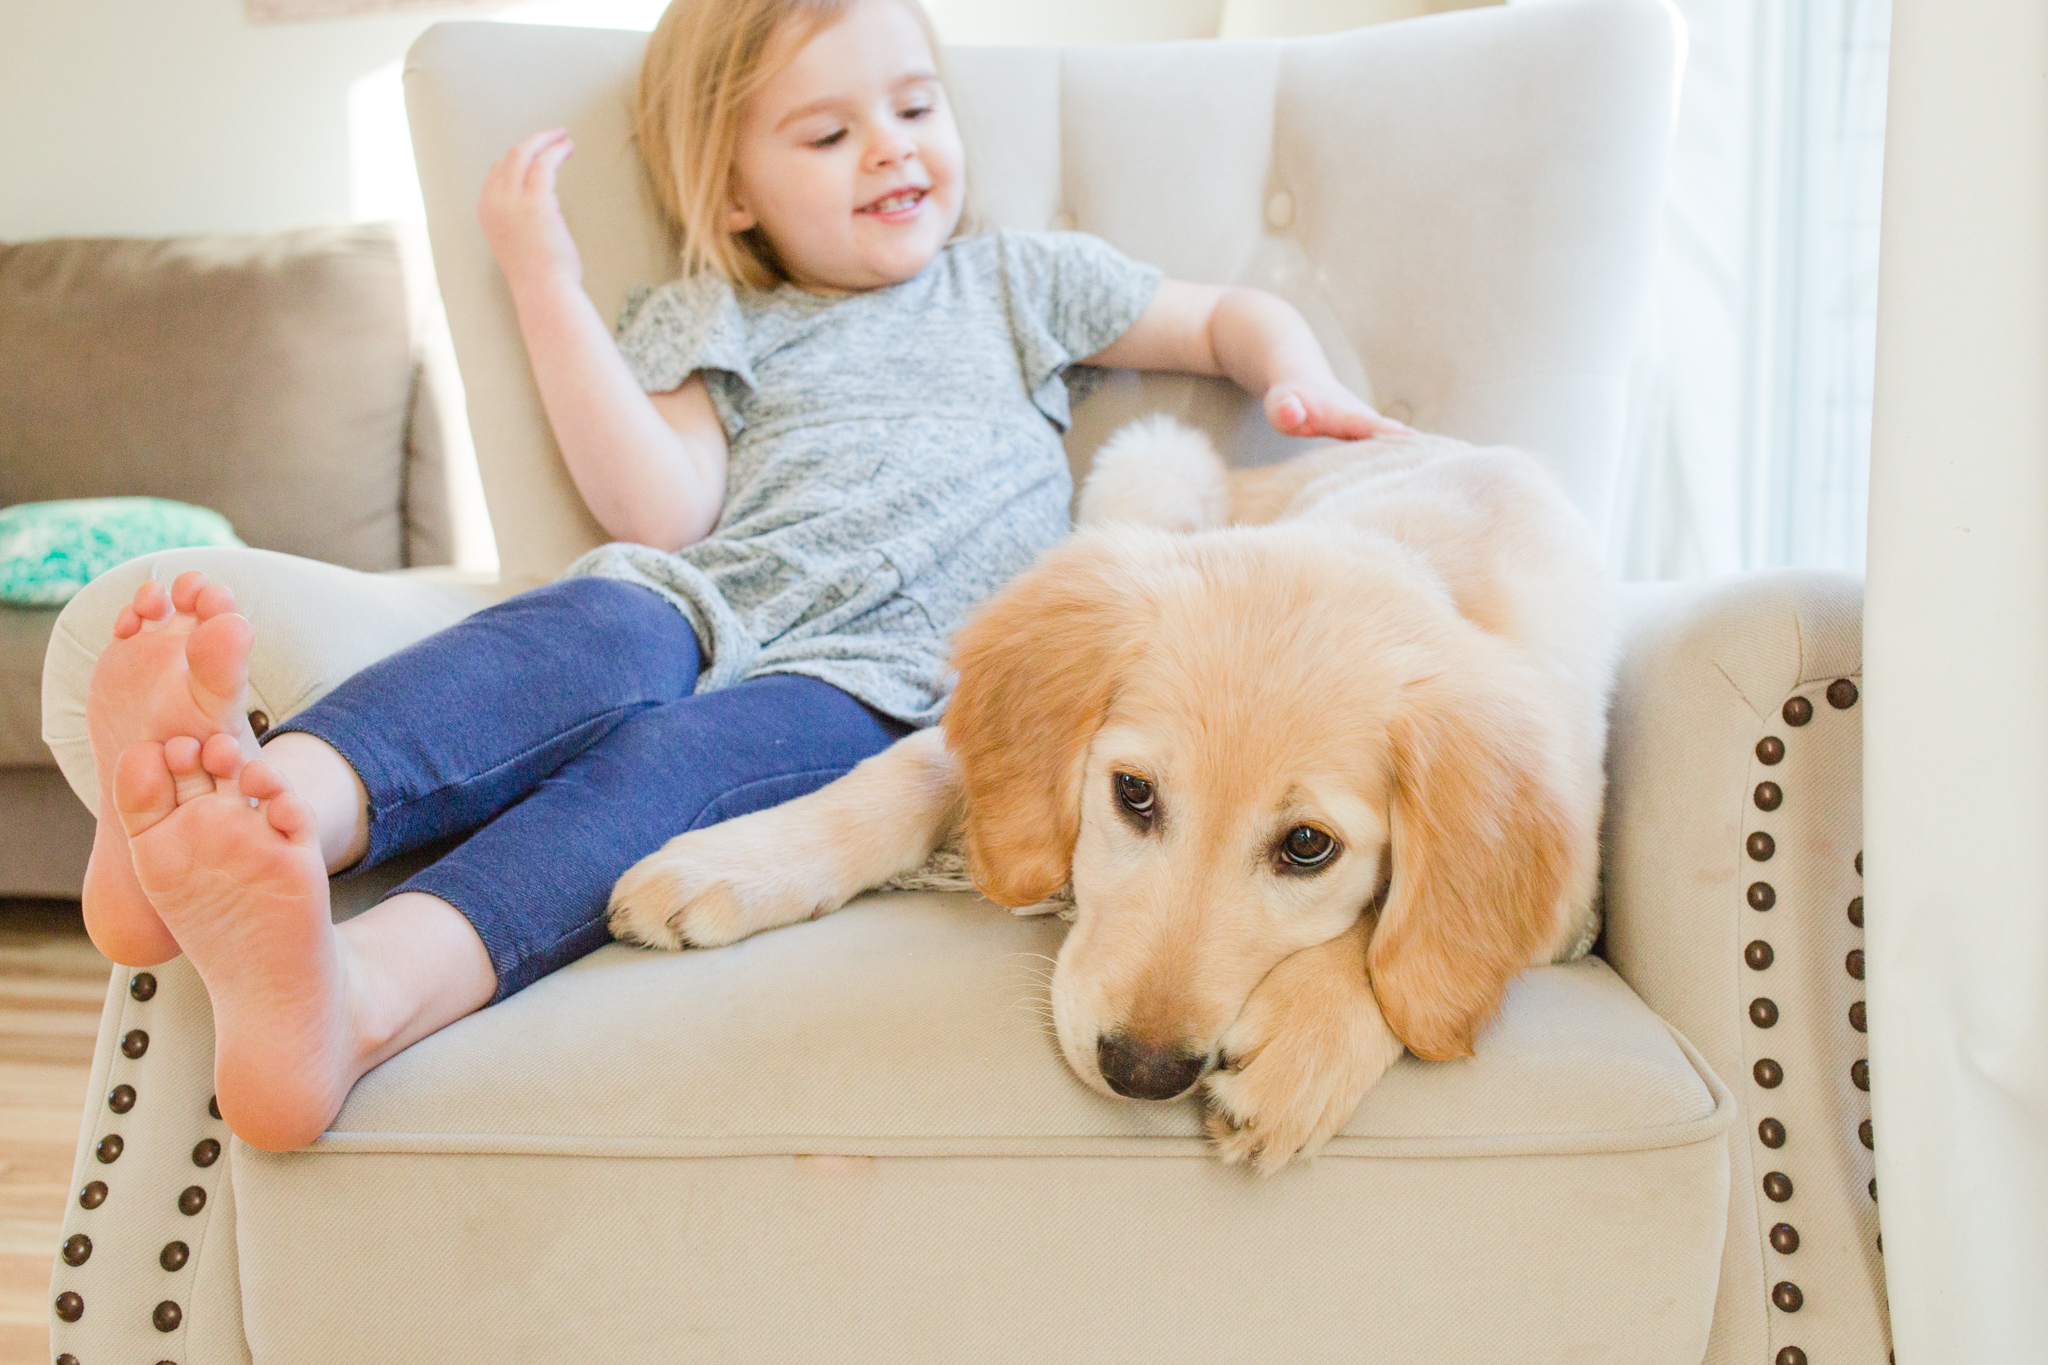
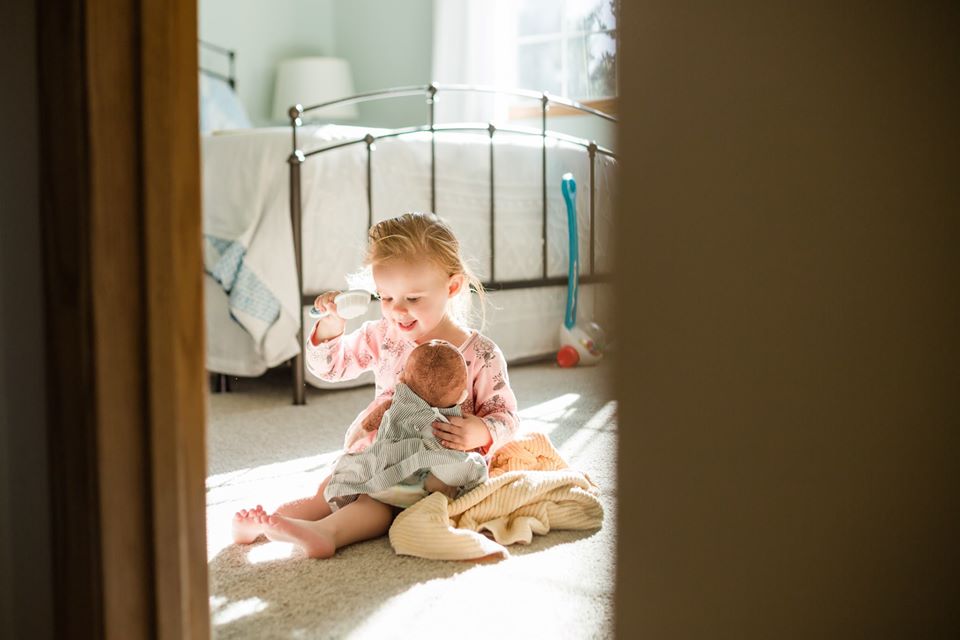
To keep it simple, I like to face my subject towards the window, with me sitting in between them and the window with my back against the window (just make sure you aren’t blocking the light on their face). If you get tired of this setup, you can totally try switching spots, with your subject in between you and the window for some glowy backlit photos (like the one below–note that this one has a window behind me as well so that there is enough light on her face too), or having you both at a 90 degree angle to the window to play with shadows on their face!
Once they’re set up, I try to follow their lead. If they’re all in on smiling for you, then start off with those basic portraits: full length horizontal, full length vertical, head and shoulders horizontal, head and shoulders vertical. Then ask them a few questions, try to get them laughing with a silly noise or joke, and get those same combinations again as they’re laughing. That’s it for the directed stuff! Set aside your camera for a minute and get them engaged in playing, then quietly photograph them as they do that. As a bonus, try to think of your favorite features of theirs and see if you can capture them: their bottom lip sticking out as they concentrate, their eyelashes, whatever it is that gives you all the mama feels.
I made a list that might help you if you’re feeling stuck about exactly what to photograph. Don’t feel like you have to do them all, it’s just a nice start to get your creative gears going! For most of these, I’m down at their level unless otherwise noted.
Smiling at you: full body, vertical camera orientation
Smiling at you: full body, horizontal camera orientation
Smiling at you: chest and shoulders (like a yearbook picture), vertical camera orientation
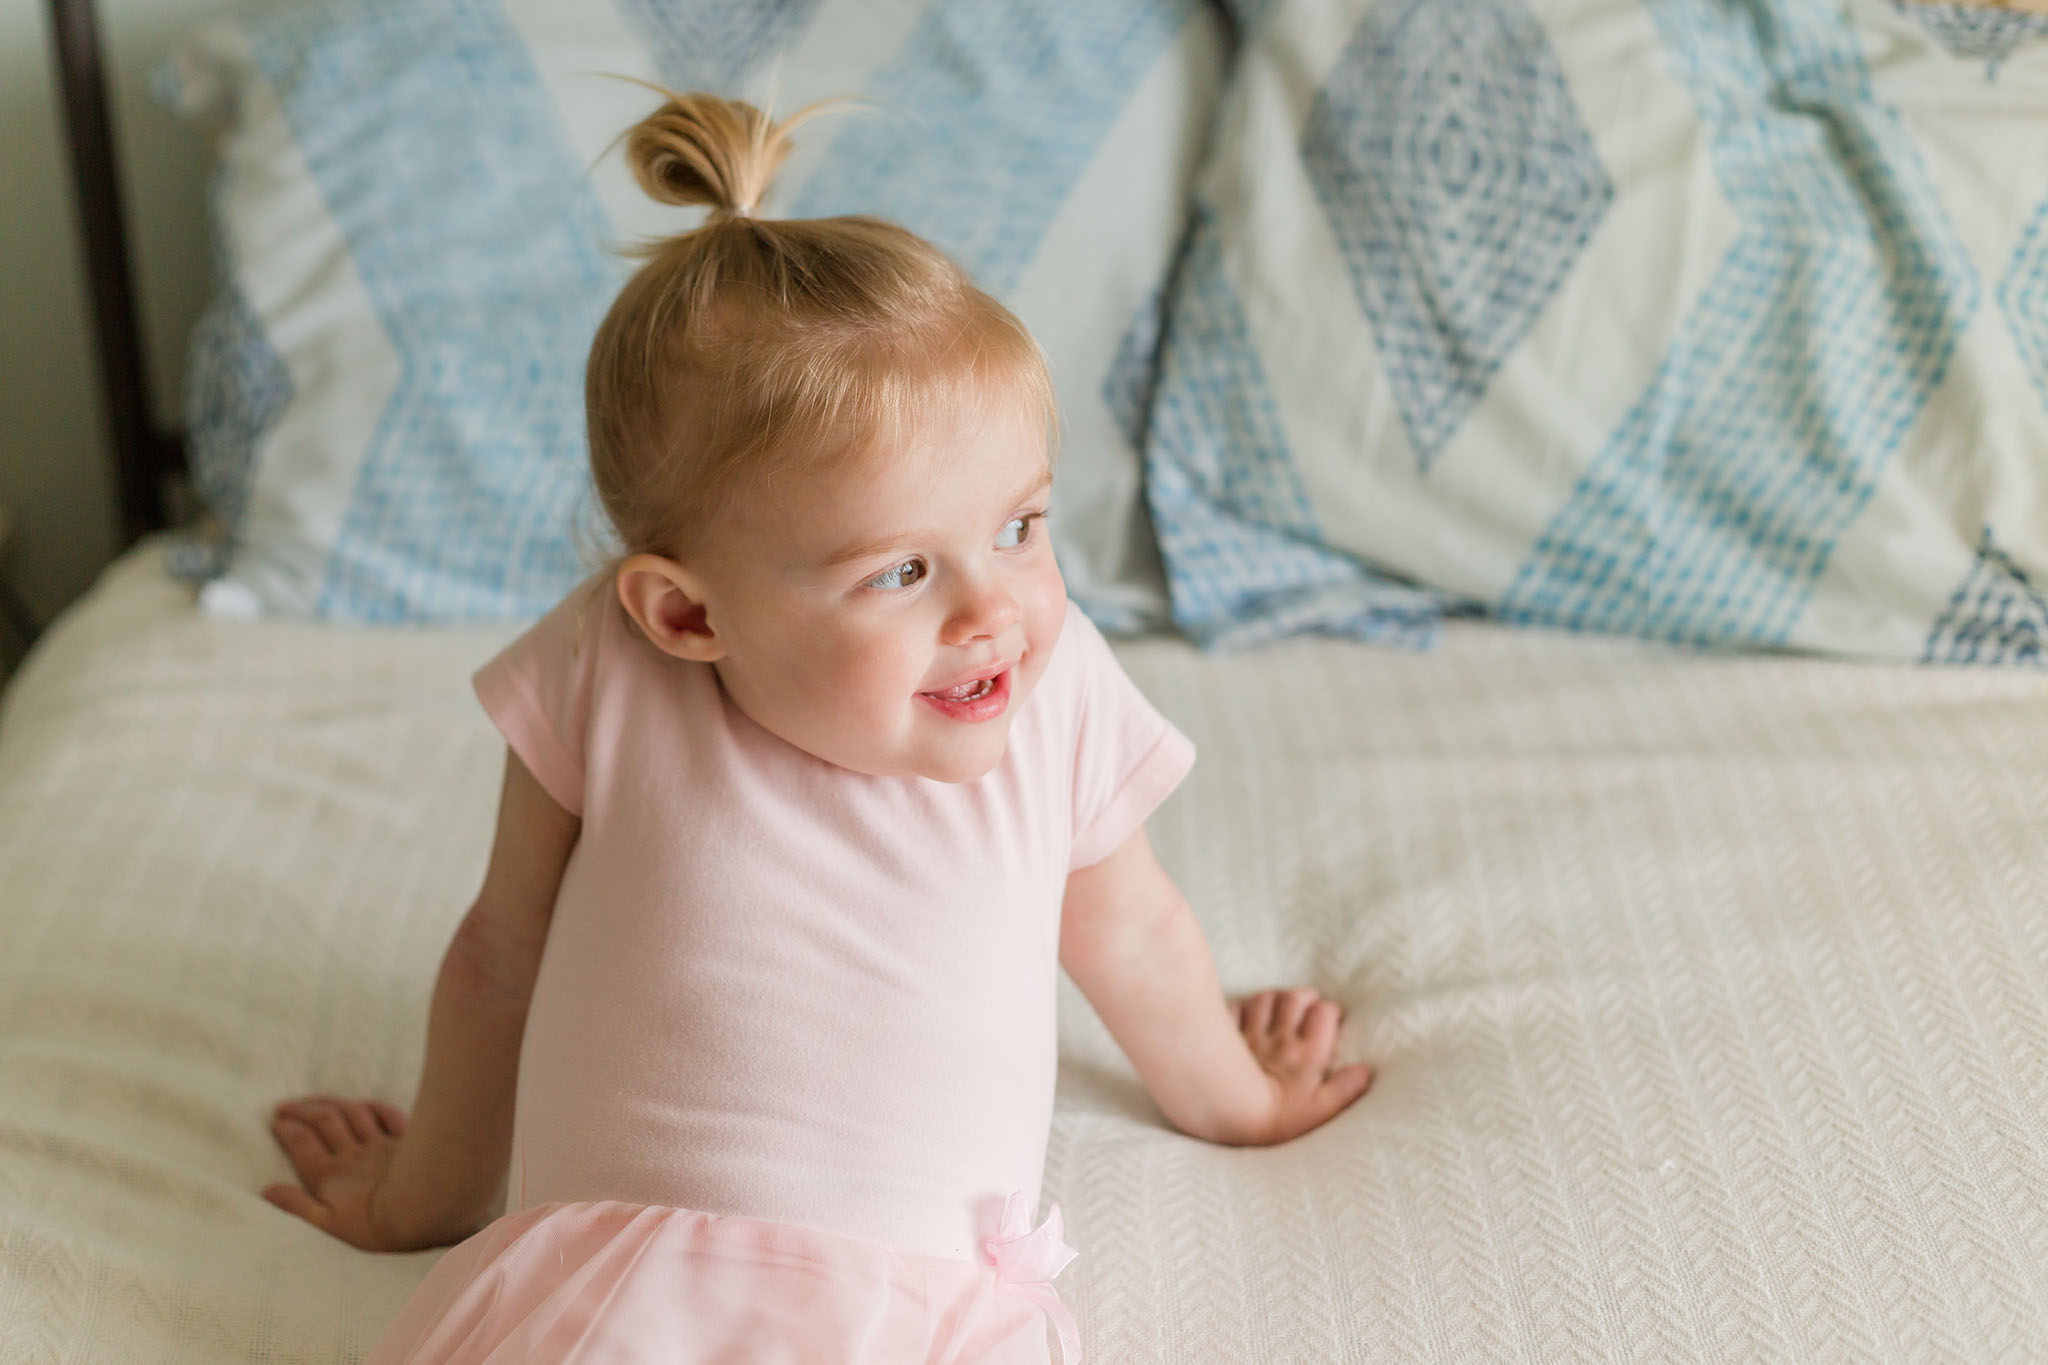
Smiling at you: chest and shoulders, horizontal camera orientation (with smaller children, I also like to stand up a bit so they look up at me for this one as a nice alternate)
*Make a joke or a silly noise!*
Laughing at you: full body, vertical camera orientation
Laughing at you: full body, horizontal camera orientation
Laughing at you: chest and shoulders, vertical camera orientation
Laughing at you: chest and shoulders, horizontal camera orientation (with smaller children, I also like to stand up a bit so they look up at me for this one as a nice alternate)
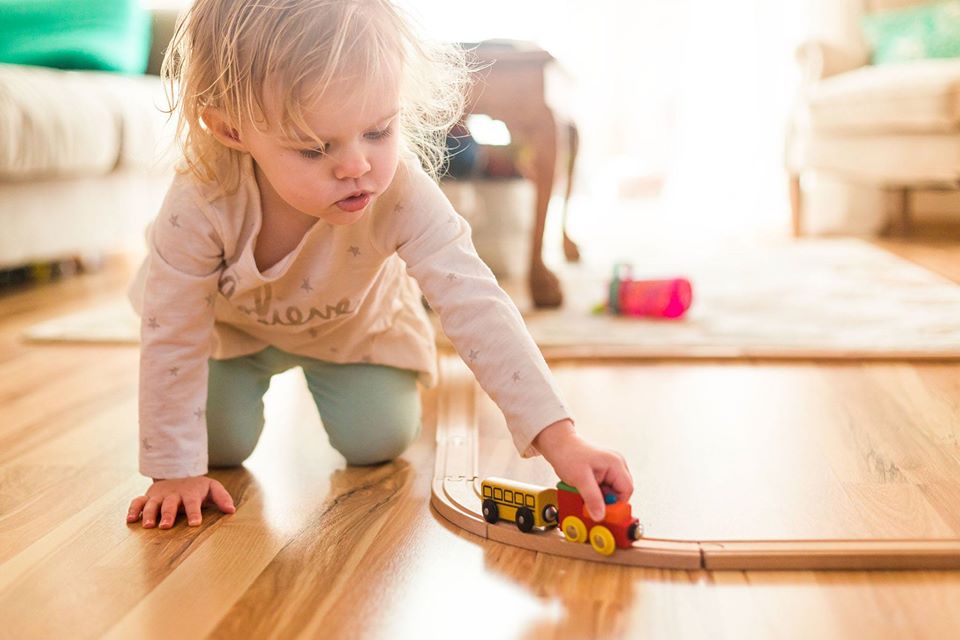
*Set the camera aside and get them engaged in playing–usually they’ll sit or kneel for this: toy train tracks or similar are a great start!*
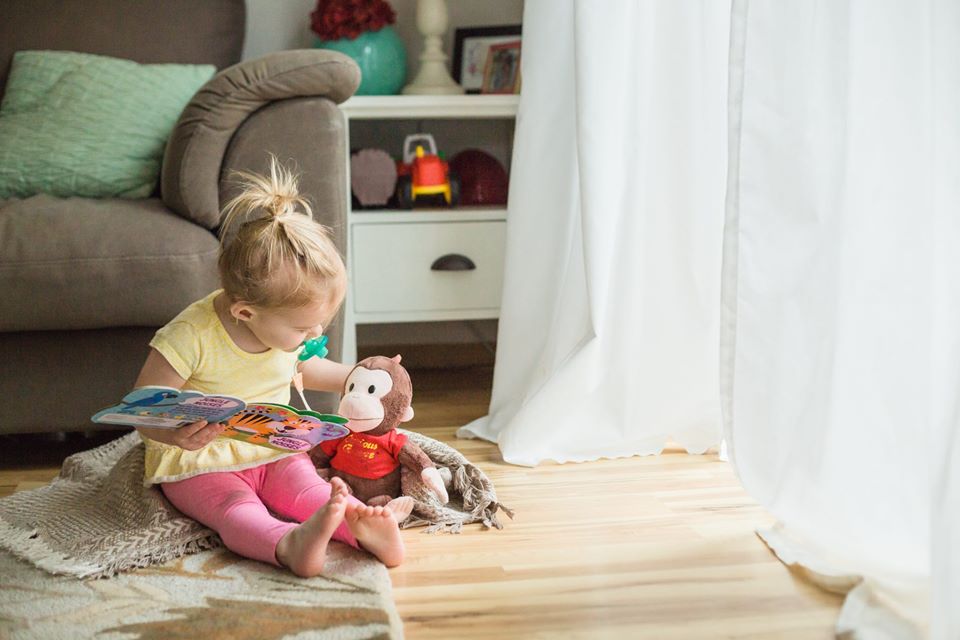
Playing: close up, include the toy so it tells the story of what they’re doing
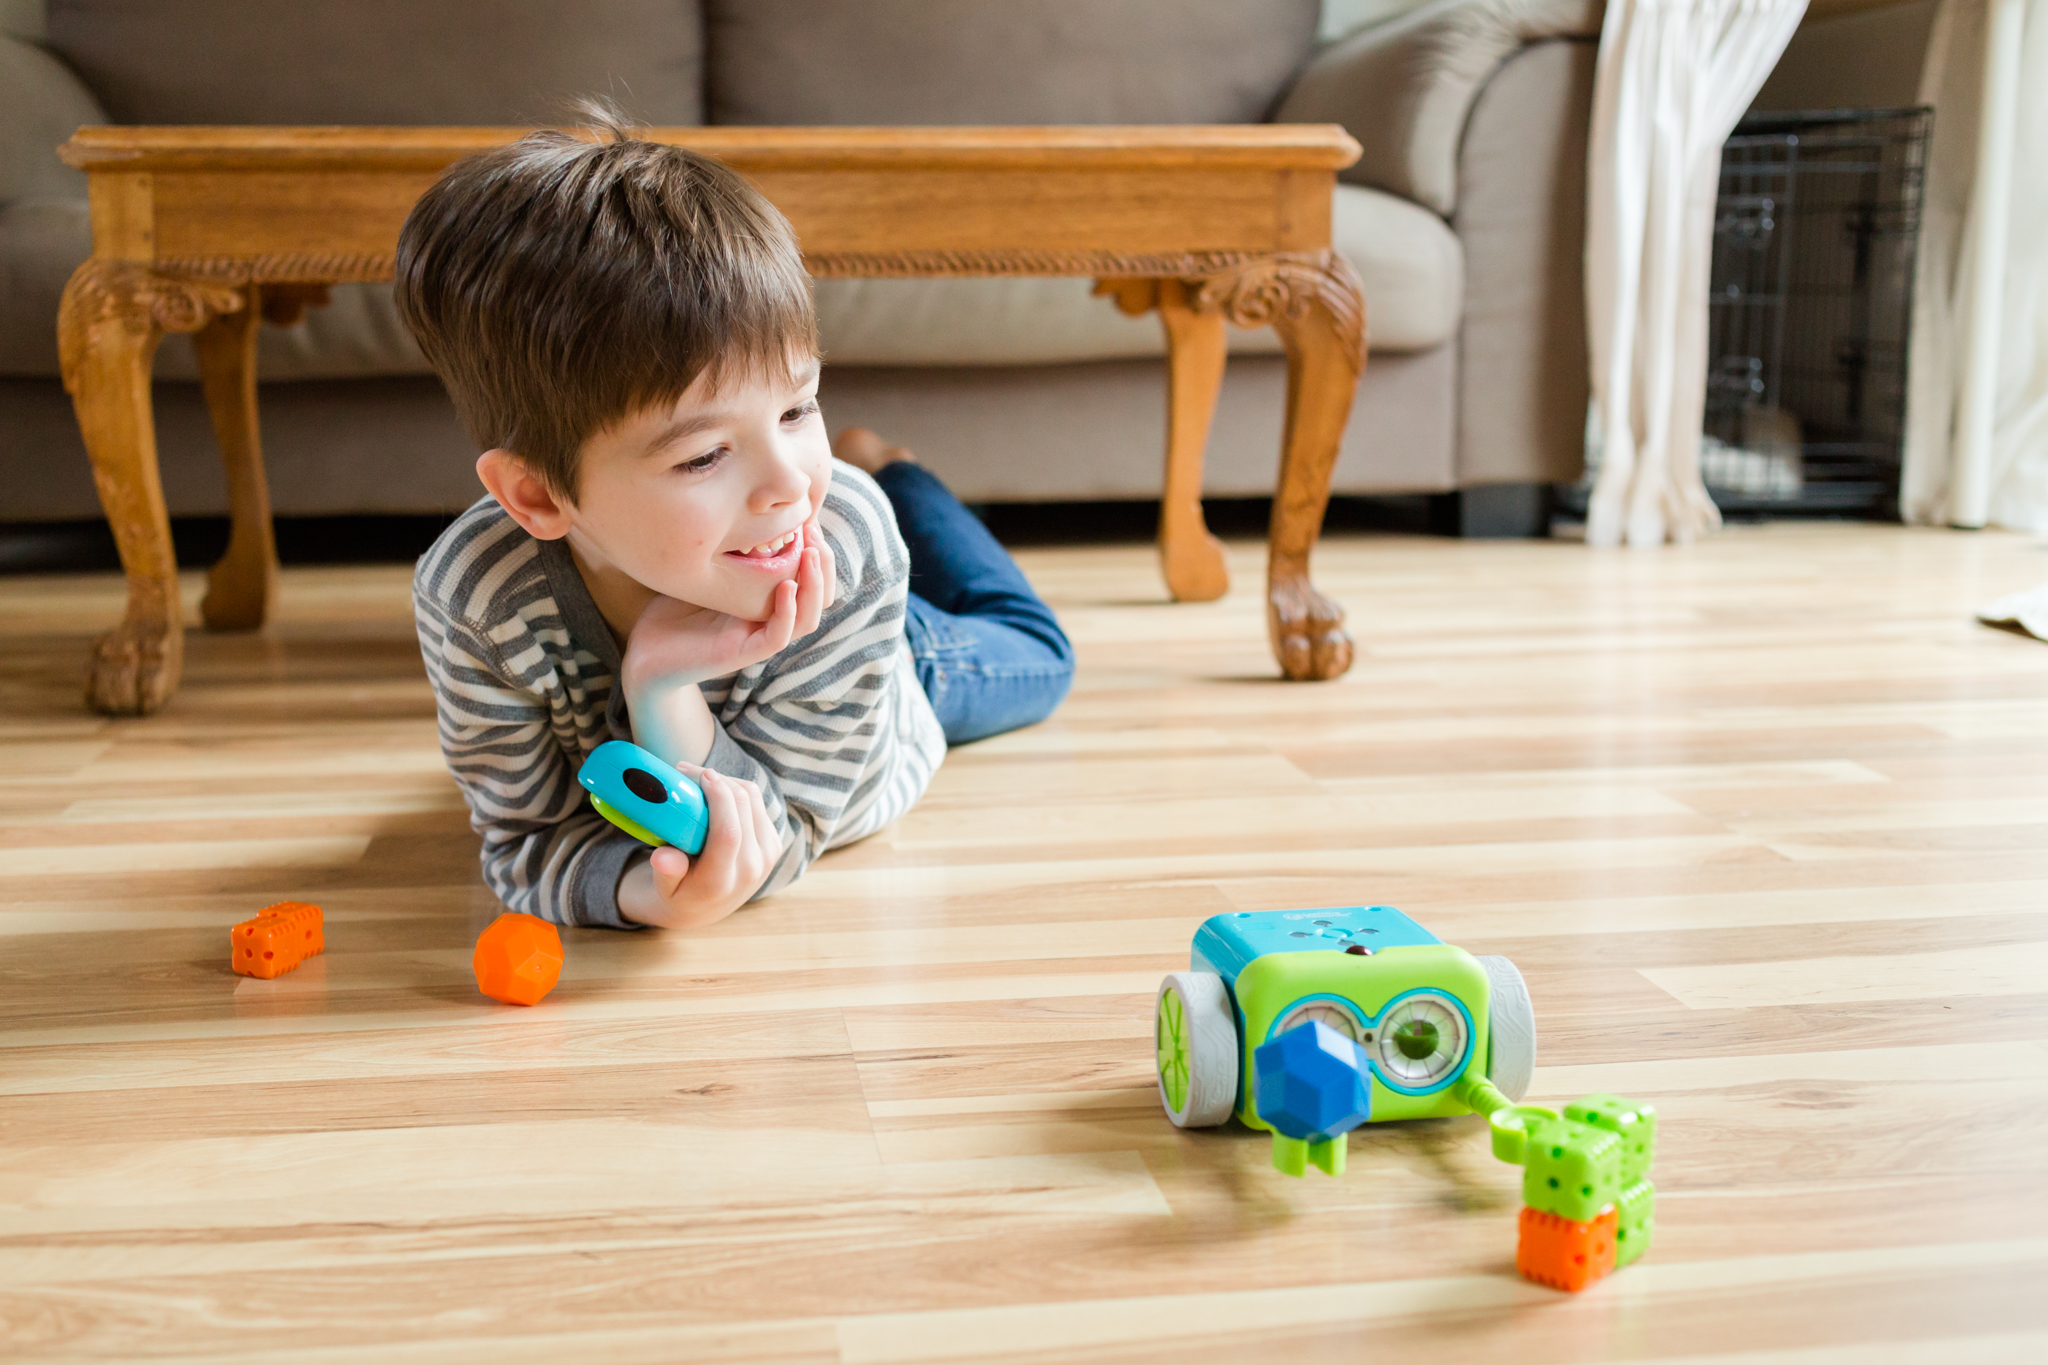
Playing: from farther away (I love to back up to include more of their room in the photo, or shoot through a doorway like the photo below)
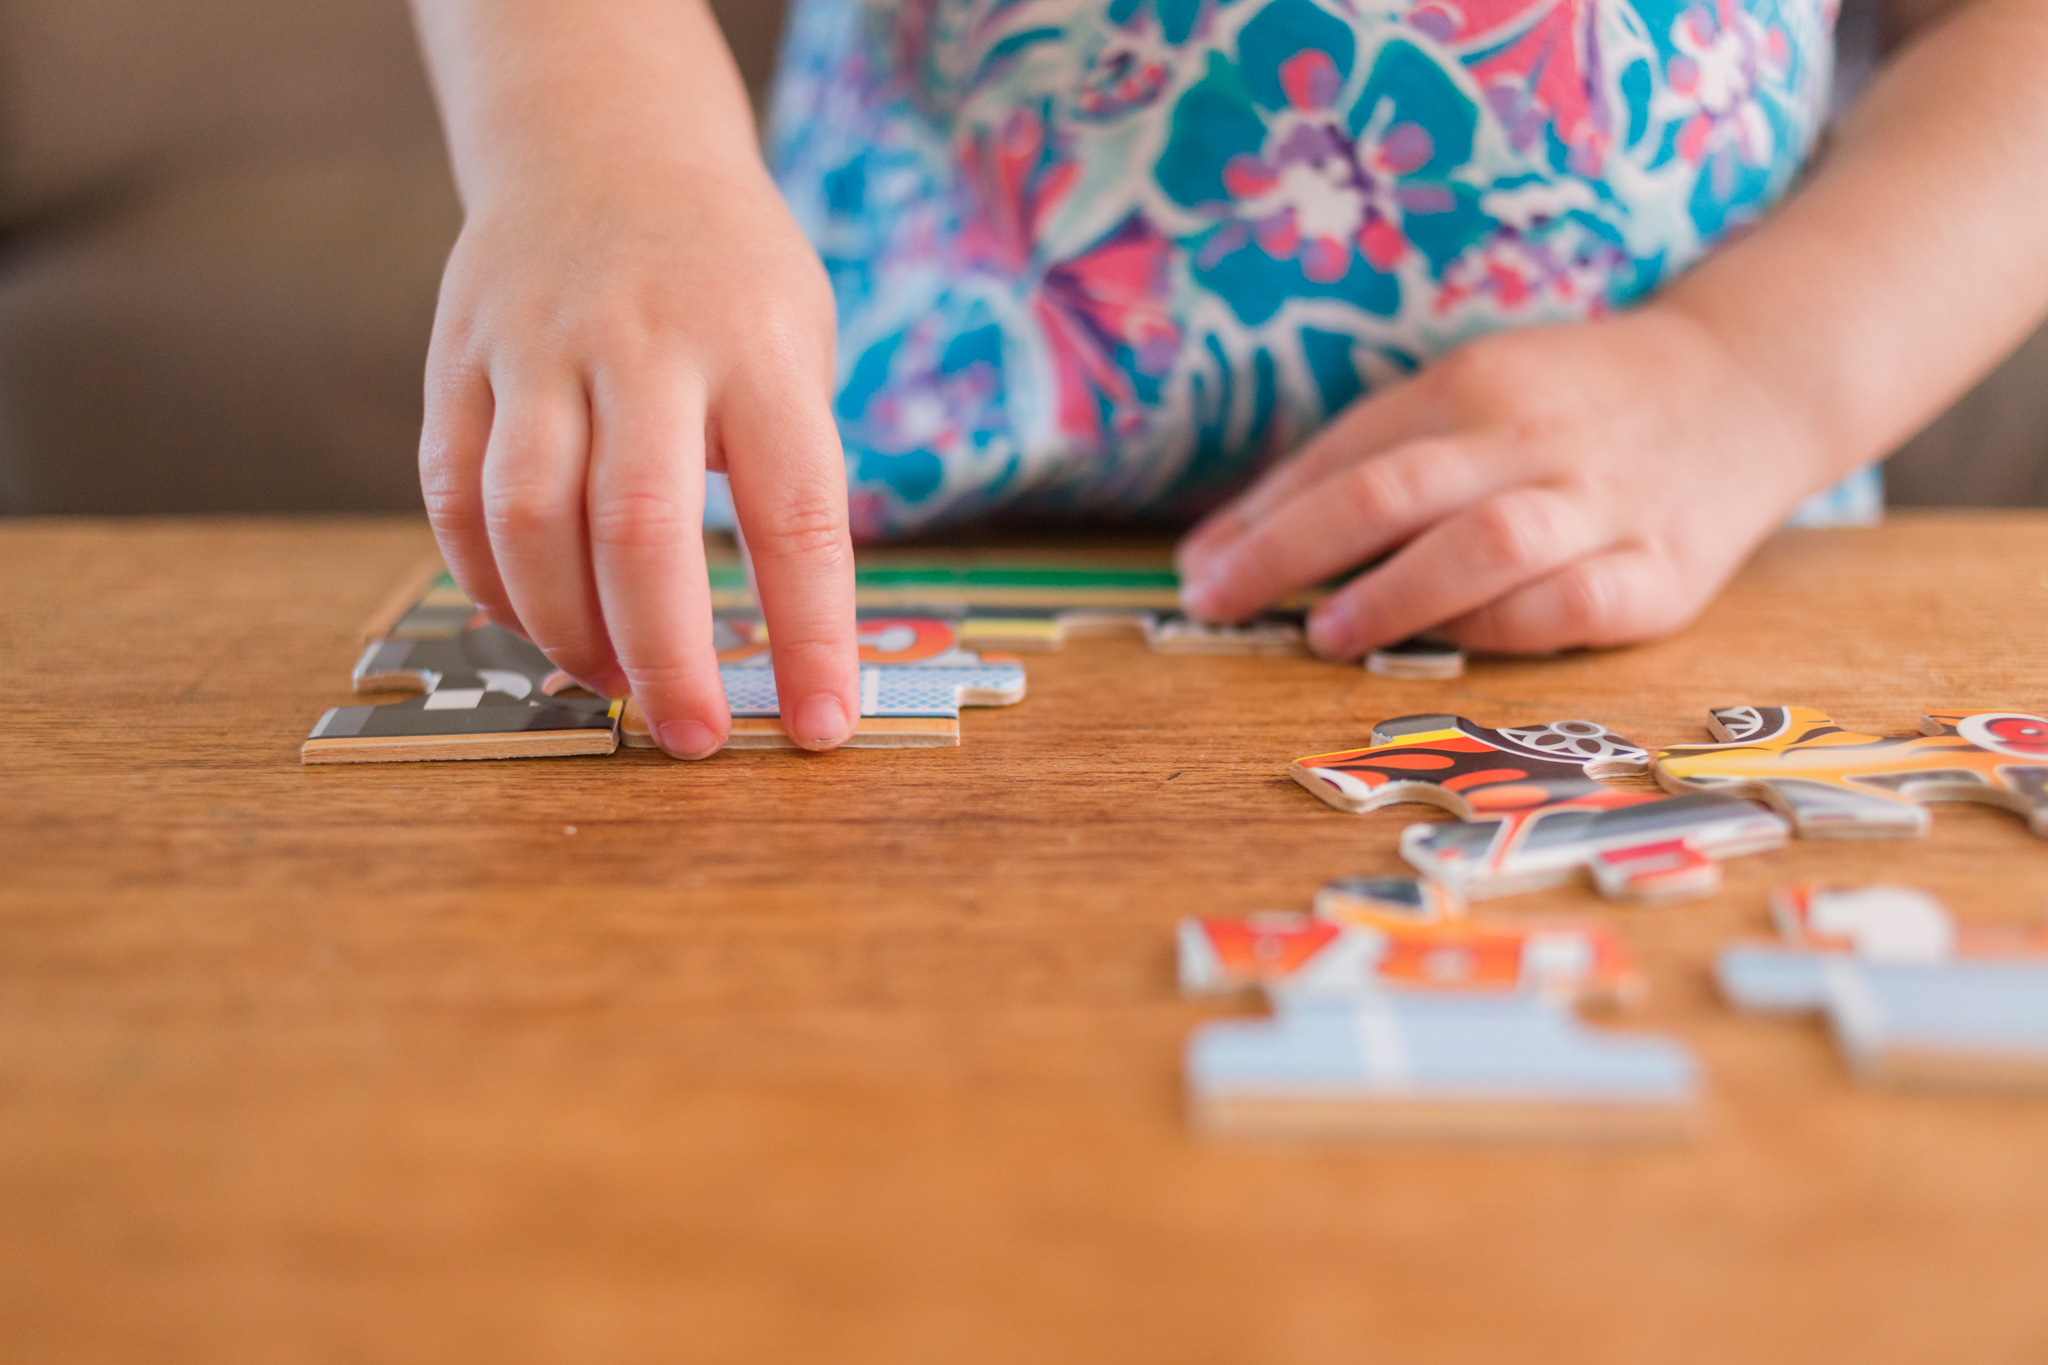
Playing: details (time to catch those tiny little fingers clutching the toy train!)
**If there’s time and your child is happy and engaged in whatever they’re playing, go back and try each of the playing photos as verticals if you only did them as horizontals, or vice versa.**
That’s it! If you made it this far, you’re done! Put the camera away and keep on playing with your kiddo! If you only made it to the first step before everyone melted down, well, you’re done too! One photo is better than none, and you documented that day in your life! Gold stars all around!
Okay–I hope that helped! Feel free to drop any questions in the comments, or if you tried it, let me know how it went!


