


Maybe it’s just my Enneagram Type 1 showing, but my anxiety around the pandemic has been materializing in PROJECTS! I’ve been in the kitchen, baking cookies, cakes, and breads. I’ve decluttered and organized and cleaned. And currently, I’m working on a project that I think many of you might like help on: I’m working to digitize old printed photos!
Remember the days BEFORE we all had digital cameras? We’d finish a roll of film, hop in the car, drive it over to the Payless, and drop it in an envelope. A few days later, we’d pick up the pictures and, if we were on top of things, file the best prints into an album. Or the prints would go into a box specifically made for them! Well, I’ve been pretty good about backing up my family’s digital photos (see my system for that here), but I’ve always been worried the boxes of prints from my childhood would get damaged in some way and then all those prints would just be GONE. So during our Stay At Home order, I’ve been scanning and digitizing old printing photos, and I think I have a pretty good process for it that I wanted to share!
First, locate your old photos. This might be a project in itself! Think photo albums, boxes of loose prints, even ones stored in frames or still on your walls. Gather them all in to one place. This will go a LOT faster if you take some time to organize them by year, so try to do that before you begin scanning. It doesn’t have to be in perfect, exact chronological order, but if you can guesstimate a year that it was taken in, that will help you stay organized. Sort the prints in to piles by year. If that’s too difficult, you could always sort by year range, 1990-1995, 1996-2000, for instance.
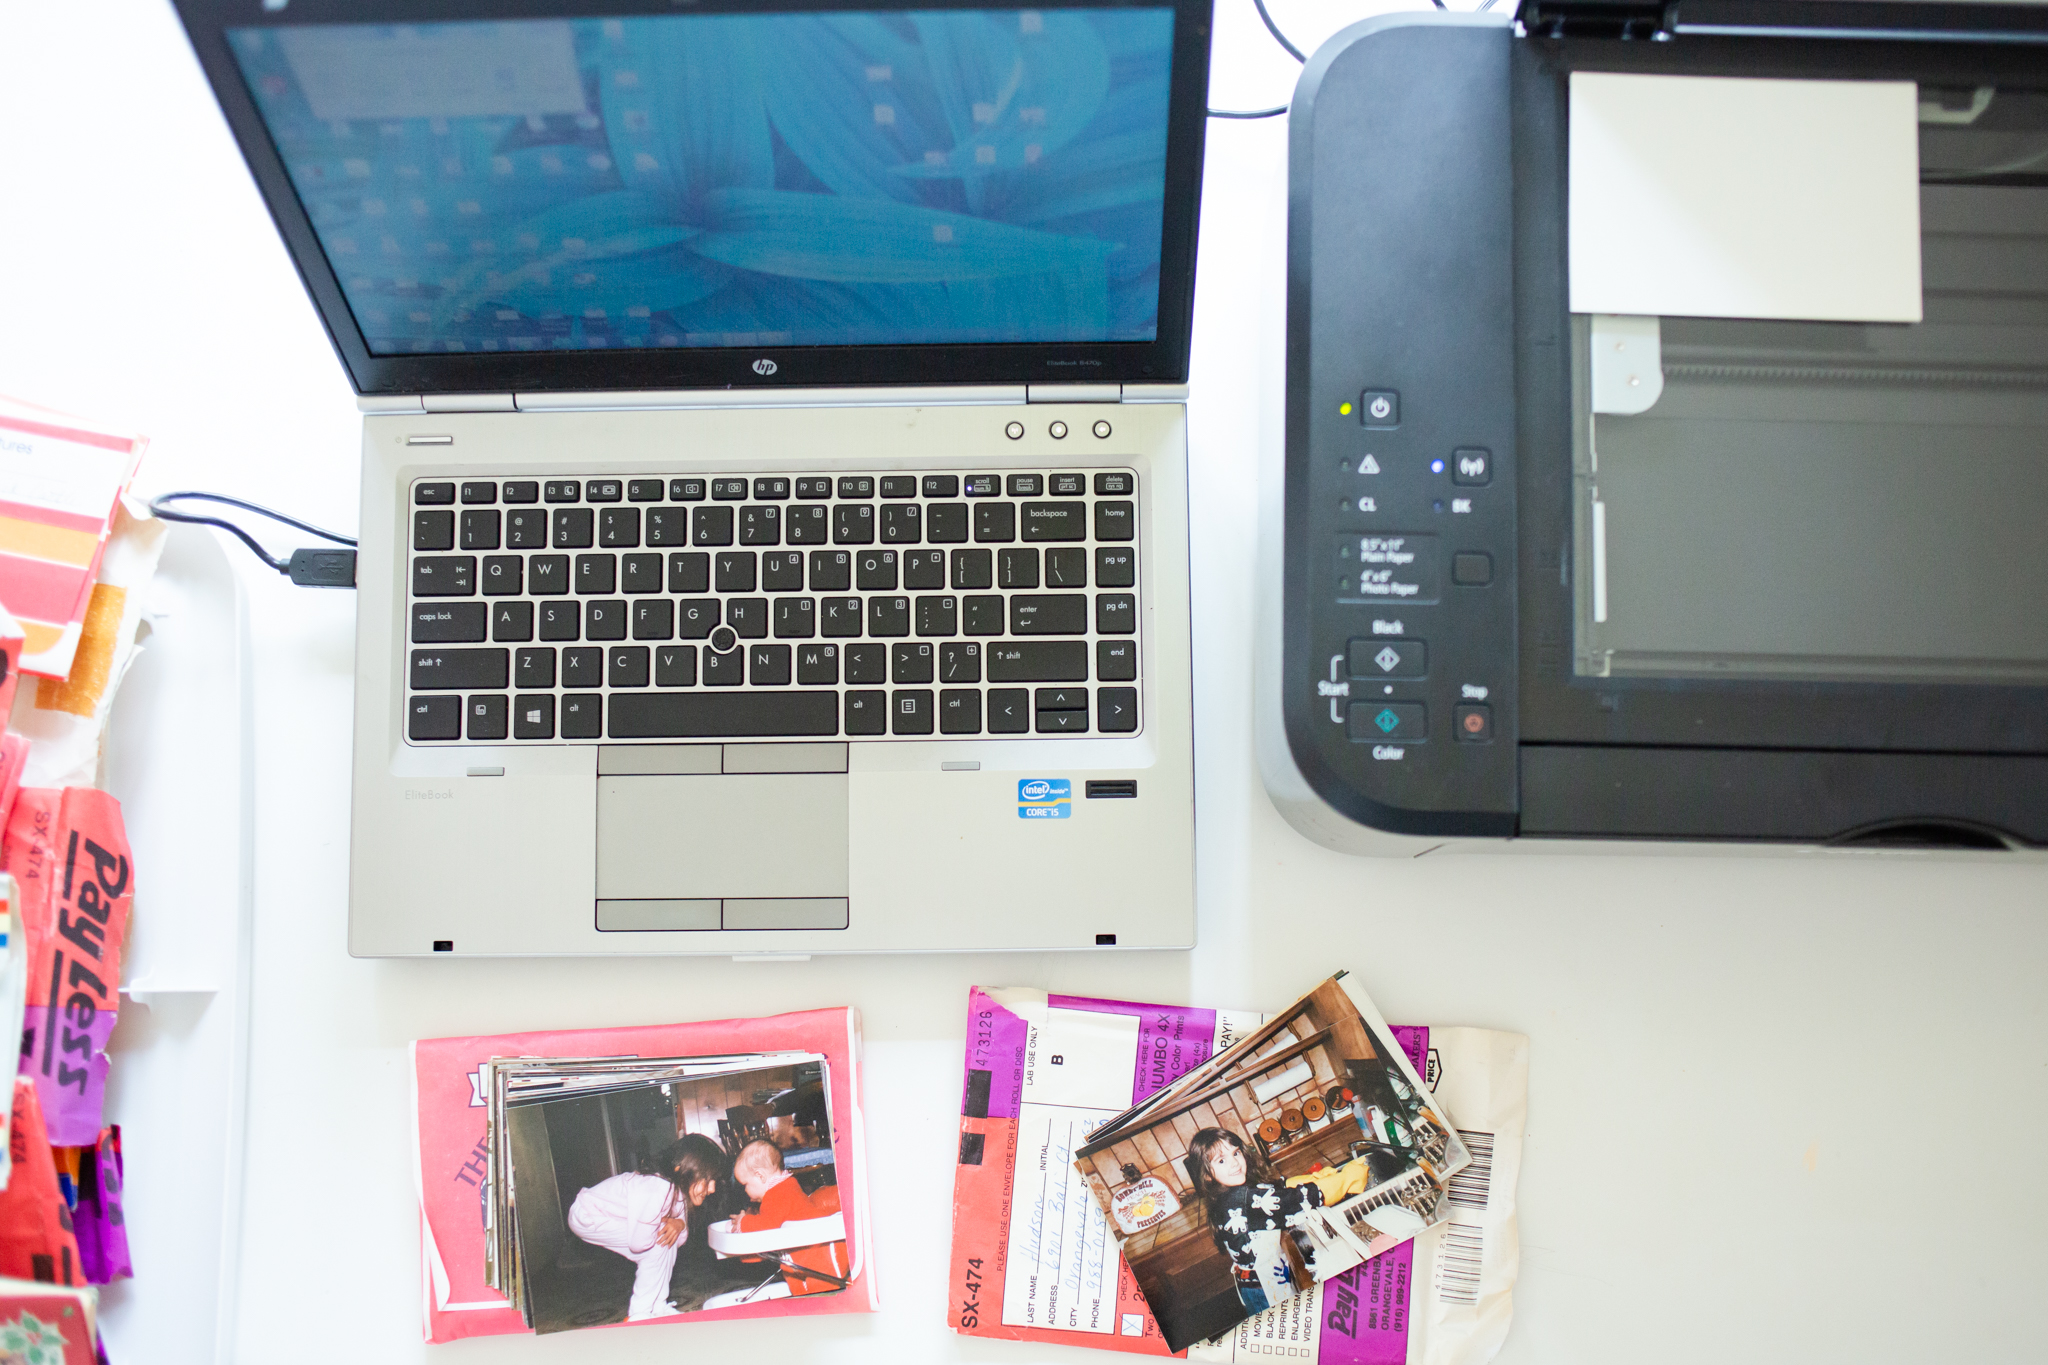
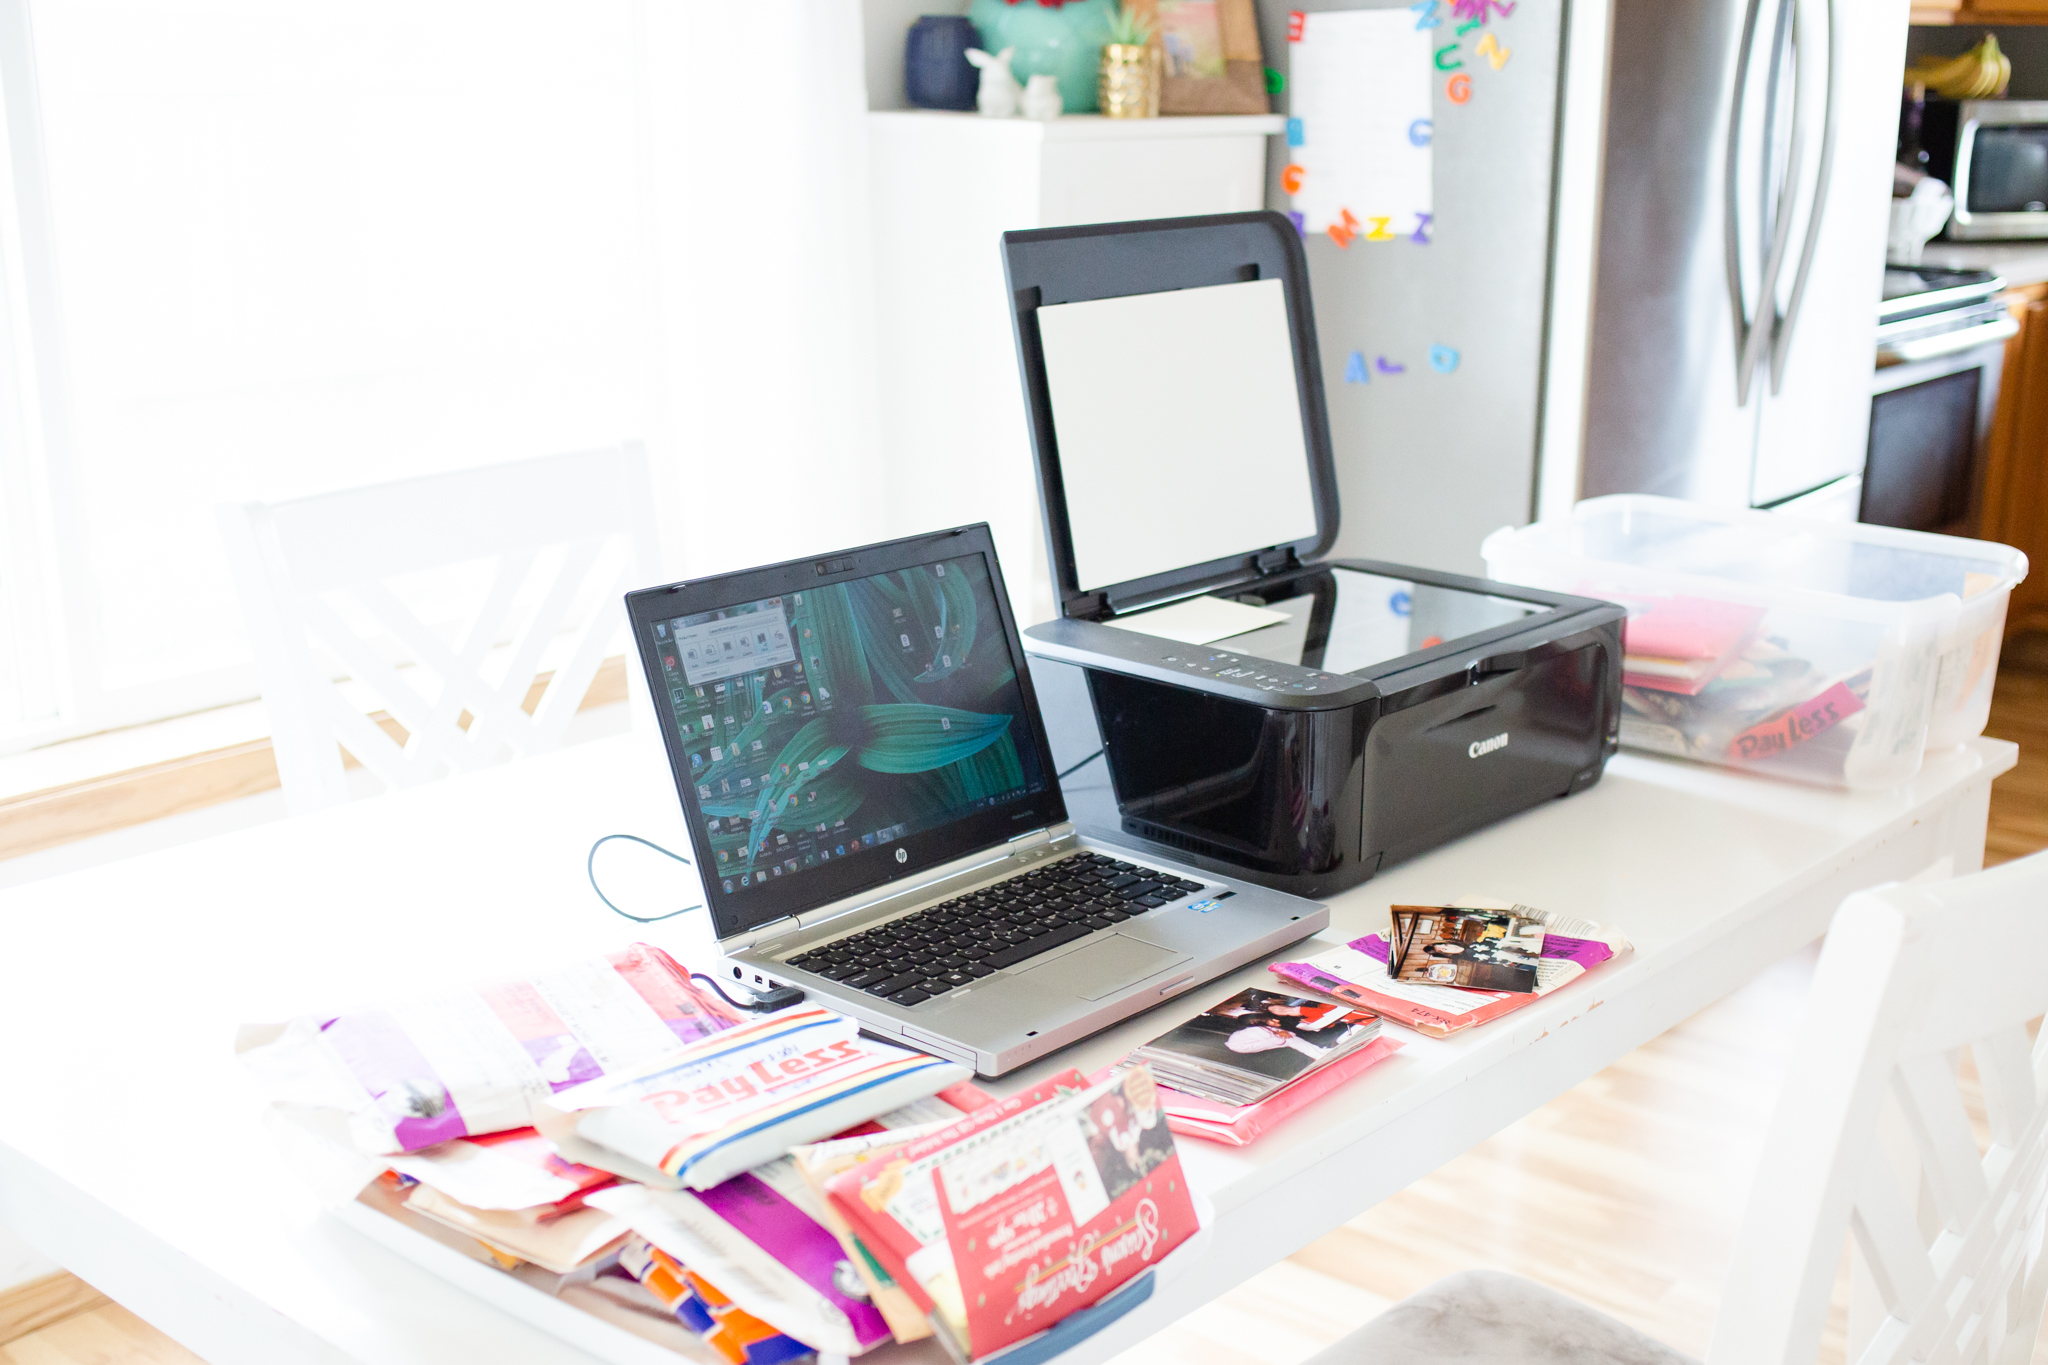
Then, set up your scanning station. You’ll need some desk space for the prints, and it helps to have your computer directly next to your printer so you don’t have to move back and forth between them too much. Or maybe that’s how you’re getting your quarantine exercise. Either way, you’ll be using both your computer and printer a LOT, so set up accordingly. I have this printer, attached via USB to my laptop on my dining room table. The desk is in use by my new homeschool kiddo, and this whole setup tucks away easily enough when it’s dinner time. I use this printer/scanner combo. It does the job. Am I the only one unlucky with printers? I buy the most affordable one because it seems they die within a year or two no matter what.
You’ll need to make sure you have your printer’s scanning utility software up on your computer. If you can’t find it, search for your printer’s name and model and “scan utility” and you should be able to find it. Once it’s installed, you may need to play around with the settings if you don’t use the scanner feature often. Look for a preset for photos (rather than documents) to give you the best quality.
Next, set up your filing system on your computer. How will you organize and name the photos? If you already have a system in place, I’d encourage you to continue using that. Personally, I used about the same naming system I outlined in this post. Each year has its own folder, and each file is named with [year]_[month number]_[event]_[person]. This way, they’ll appear chronologically in the folder, and events will stay grouped together. It’s also searchable by person or event, and if you share the files with people who may not know who is in each photo, they’ll just have to look at the file name. So if your kid doesn’t know what Great Aunt Mildred looks like, they can just look at the file name and know that it’s her in the photo! NOTE: I don’t organize the scanned photos into folders by month like I do for my current personal photos, just because there are fewer of them.
Okay, that’s it for setup! Start scanning! I do small sets–an envelope at a time, or half a photo album. The envelopes of photos that haven’t been gone through, I’ll cull through and choose favorites–the albums, those have already been culled down from the original roll so I scan all of those. Scan a photo, pull up the folder it scans into, and IMMEDIATELY rename the photo with your chosen naming system. Then set that photo aside and do the next one. Once you get in the groove it goes fast! All the set up and organization you did at the beginning means that the scanning itself should go quickly.

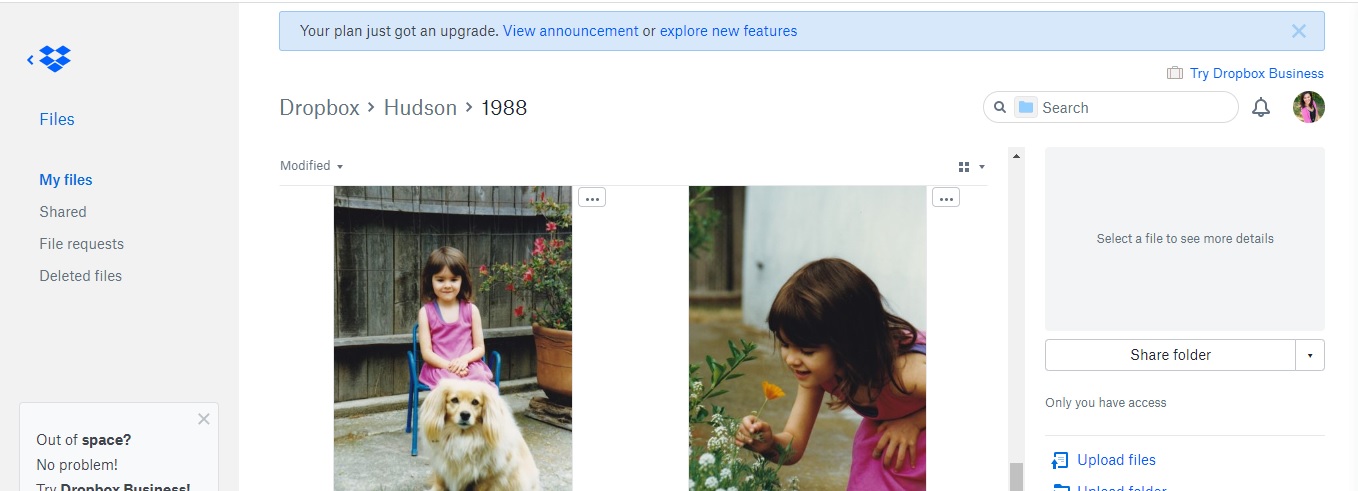
Once I’ve gotten through a whole year of scanned photos, I back them up to the cloud. Because you are all ALWAYS backing up your photos in a few places, right?? Hard drives fail–back up your photos! I’m using Dropbox for these family photos because it’s easily shareable amongst my family and they can easily download whole zip files of all the photos. I’d encourage you to use a similar service–anything where their main service is data storage, rather than print sales, should work well to ensure you’ll always have easy access to the .jpeg file. On Dropbox, I just mirror the file organization I had on my hard drive: a folder for each year. It’s a quick drag and drop to back them up.
PHEW! I totally recommend popping your favorite podcast on while you do these scans. I’m a true crime podcast fan, so if you have recommendations for crime podcasts, drop them below! I hope this was helpful for you and that you’re on your way to safely digitizing and backing up your family’s photos!


