


Decorating has never been a gift of mine. I enjoy it, and I’ve definitely spent some time moving furniture around and buying new vintage quilts (okay, a LOT of time on that last one), but pulling a room together where it looks like a real grown up lives there? NOT something I was ever able to do. Especially once we had kids and we were so busy with the baby stage and money was tight–decorating just wasn’t a priority. We pushed our couch up against the wall, I framed a few family photos, and that was that!
Well, after spending over a year trapped in our house during quarantine, I decided it was time to bring some sense of HOME to our house! I decided to re-decorate (or, well, DECORATE) our living room since we spent so much time there. Why not make it work for us? I had NO IDEA where to start, but I knew I wanted to do it simply and on a budget.
That’s when I found The Nesting Place, hosted by Myquillyn Smith. She teaches cozy minimalism–and the more I read about it, the more I knew THAT was what I was looking for! I went ALL IN when everyone was Konmari-ing their homes. It felt GREAT! But the full-minimalism just isn’t for me at this stage of my life. I need throw blankets. I need vintage quilts. I need a LOT of books. These are the things that make it feel like home to me!
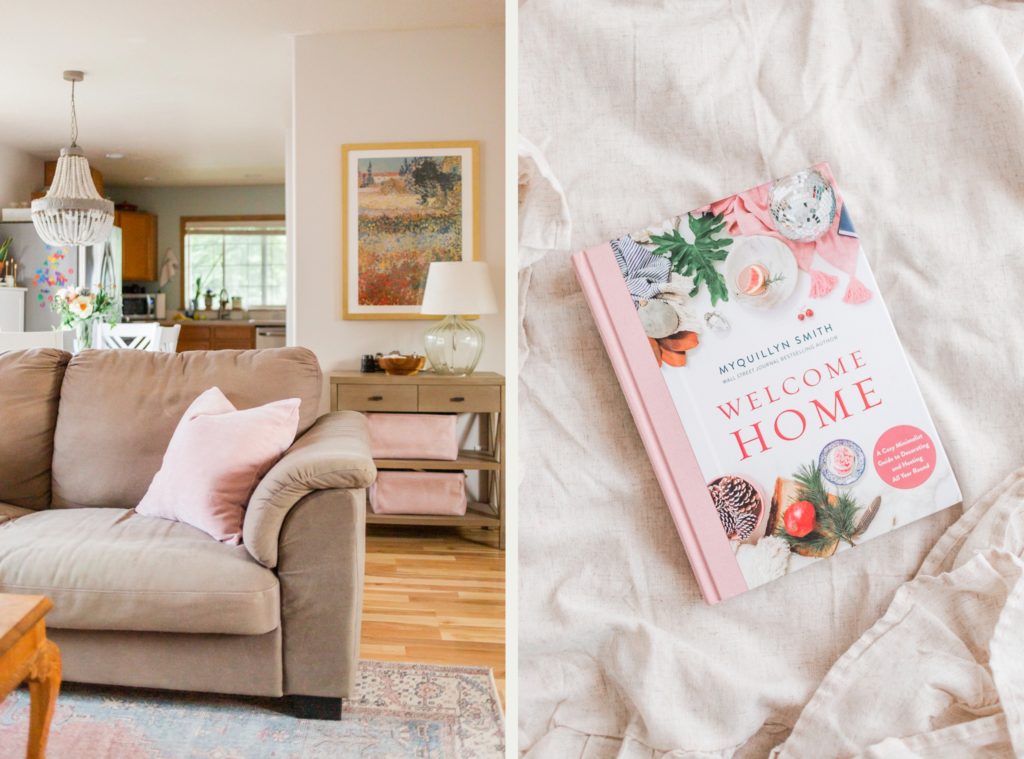
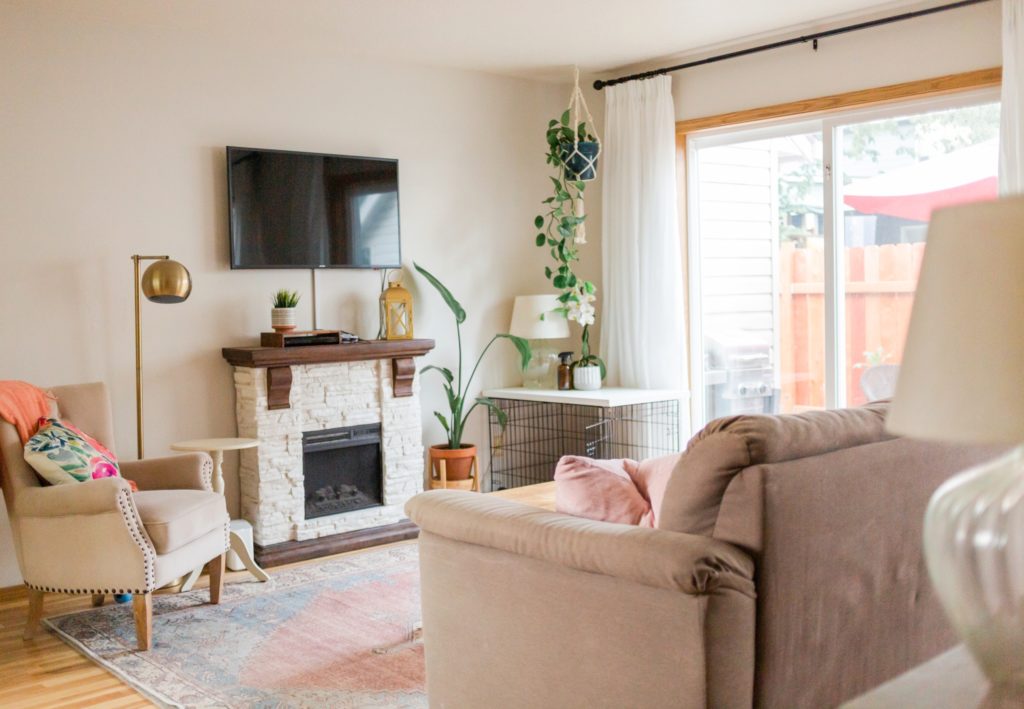
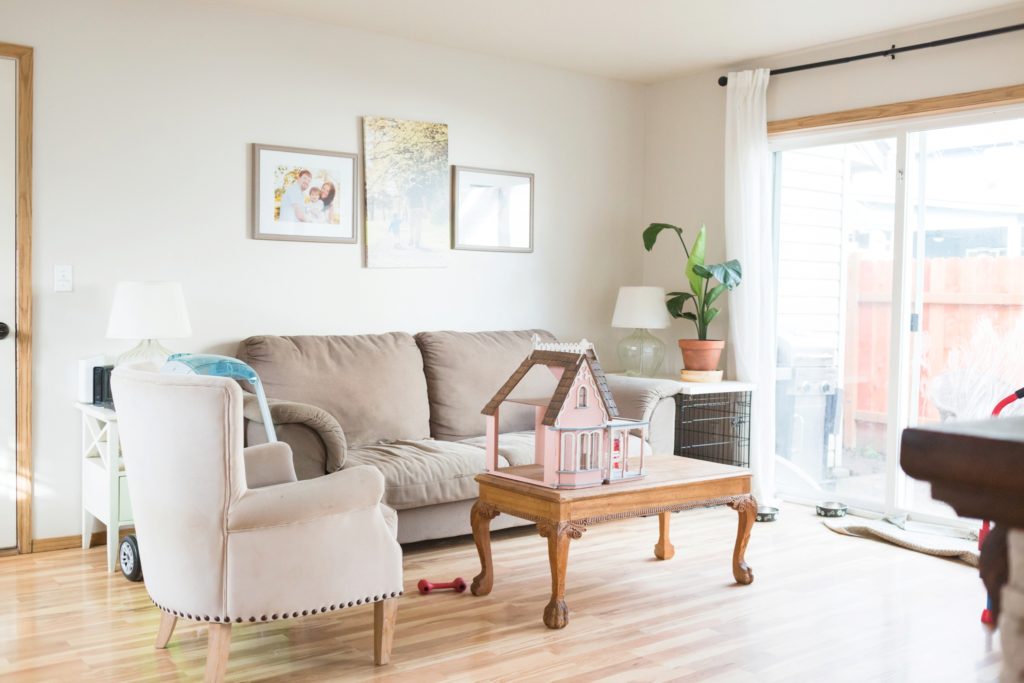
Myquillyn hosts online group workshops to redecorate your home, one step at a time. It’s a super easy system that focuses on just making one choice at a time, in a specific order. I did it during the spring semester and I’m so excited to share some photos from that! The photo above is probably my new favorite “view” in my house–the blush pink, the gold, the wood…LOVE! What’s amazing is that NONE of these are changes I would have made on my own! Here’s a view of the rest of the room “after” Myquillyn’s course:
And before:

I love the way the room FEELS now and I love sitting together in the living room now! It seems like a lot of big changes but really it was just rearranging and learning some key things. Here are a few of my biggest takeaways from going through the Cozy Minimalist Course:
Trust the process!
It’s structured with weekly focuses and tasks–for example, the first thing you’ll do is “quiet” your room by removing all the extra STUFF. The last photo I shared was taken after I’d quieted the room. I probably could have pulled the smaller furniture out too, but we didn’t have any other place to put it. I didn’t think I needed to do that since I didn’t think there was that much stuff, but it totally made a difference in how willing I was to move furniture around and not be stuck on something because of what art was already up on the walls! The process works!
Try it ALL!
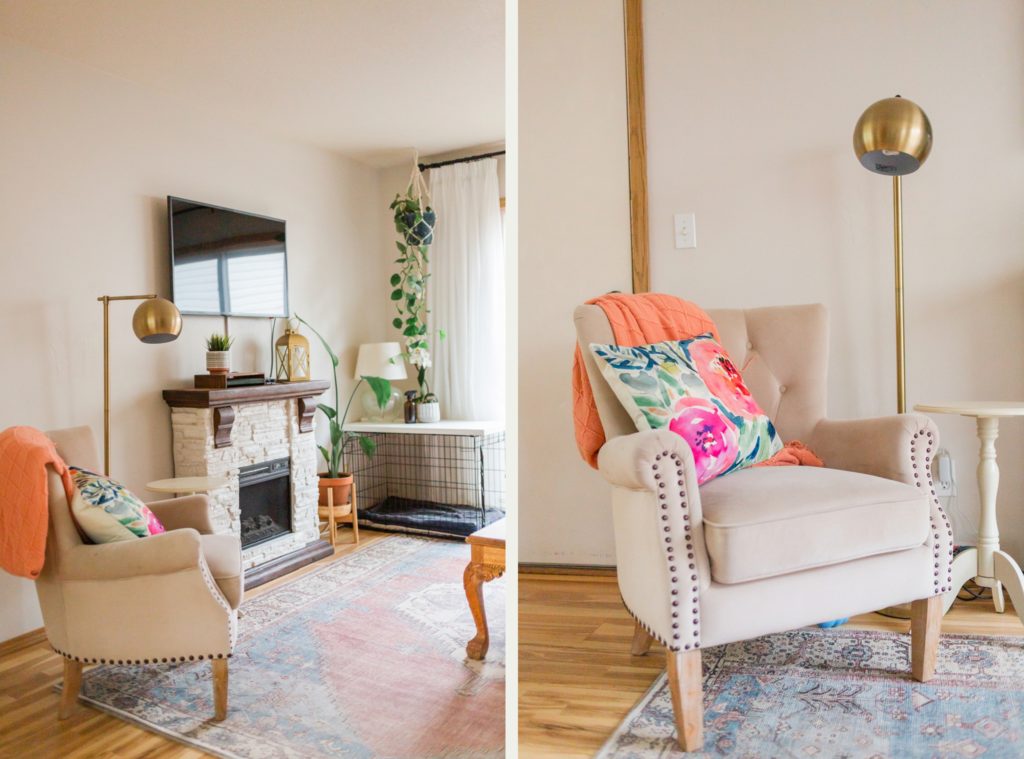
There were a lot of points where I thought, well, that’s not going to work in THIS room or in MY house. Floating the couch in the middle of the room? I thought that was impossible in our small house. But you know what? It creates such a cozy little sitting space and makes it feel like a ROOM! I never would have thought!
Find a way!
We had some pretty serious restrictions going in to this. I mentioned the budget was pretty small, and on top of that, we have a PUPPY. She chews my LIFE up. She’s a year and half now, and starting to grow out of it, but the list of things she’s destroyed is fairly long. So I had a lot of “I can’ts” in my mind about what would work in a puppy (and kid) friendly room. What if my kids break everything? What if the dog destroys pillows? Here’s the thing though–the kids and dog will probably always find a way to destroy SOMETHING. It’s chaos like…all the time over here. This crew could be in an empty room and break it. So instead of just living with nothing for the sake of not destroying anything, I went for durable, thrifted, easily washable or replaceable things. The rug is spill-proof (tried and tested on day one!), the pillow covers can be zipped off and oxy-cleaned (also tried and tested).
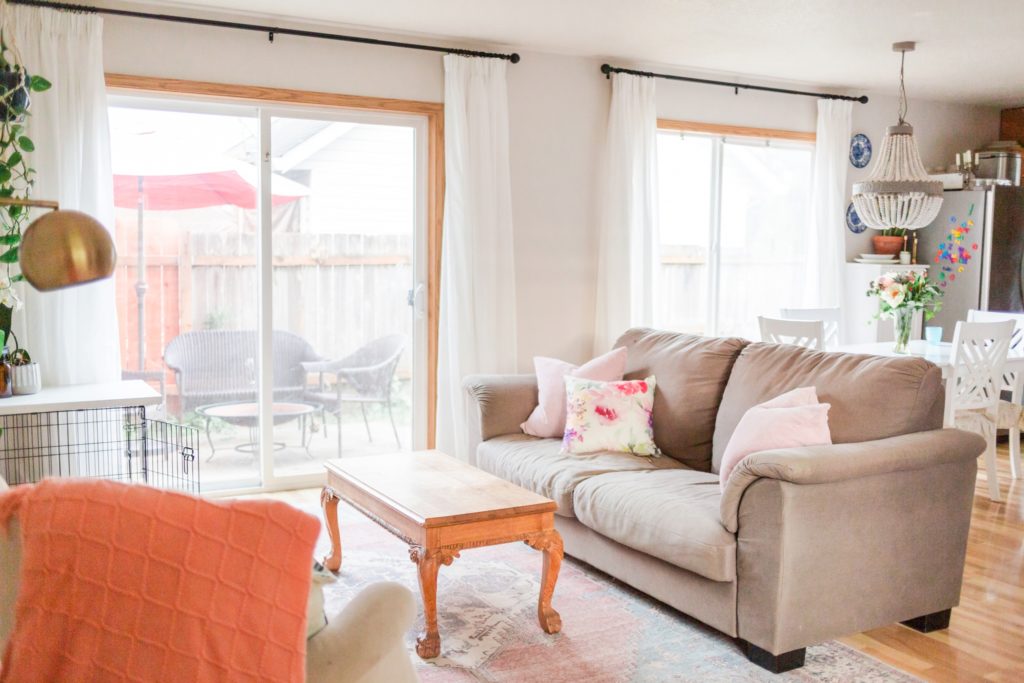
A rug really DOES tie the room together!
I was SO resistant to buying a rug. The dog factor. The kid factor. But when I got it in the room, I knew it was a must-have! The room suddenly looked finished! This, my friends, is why everyone needs the Cozy Minimalists in their lives.
I really enjoyed this whole process and I’m looking forward to tackling the next room in the next semester! Join me there? The next Cozy Minimalist course starts in September, but you can always get a head start by reading one of her books! What room would you start with?
Sources:
Rug: The Rug Collective
Pillow Covers: Amazon
Framed Print: icanvas
Curtains: Ikea


[…] on their fixer-upper 1937 Portland home with a big dose of DIY spirit. If you followed along about my cozy minimalist living room revamp, you know I’m a fan of Myquillin Smith of the Nester–and Suzannah has featured her on the blog […]